The scope of this teardown is to provide a step by step disassembly guide in order to uncover all components.
We believe that as of today the in house service of the robots is kind of difficult due to the lack of information available
We know first handedly that UR does a fairly good job informing the operator that something is wrong hardware wise via error codes
and although it uses a fair amount of propietary components replacing them is somewhat easy
If you have your tools ready, let us begin.
Make sure that the controller is unplugged from the mains.
Unlock the door using the supplied key.

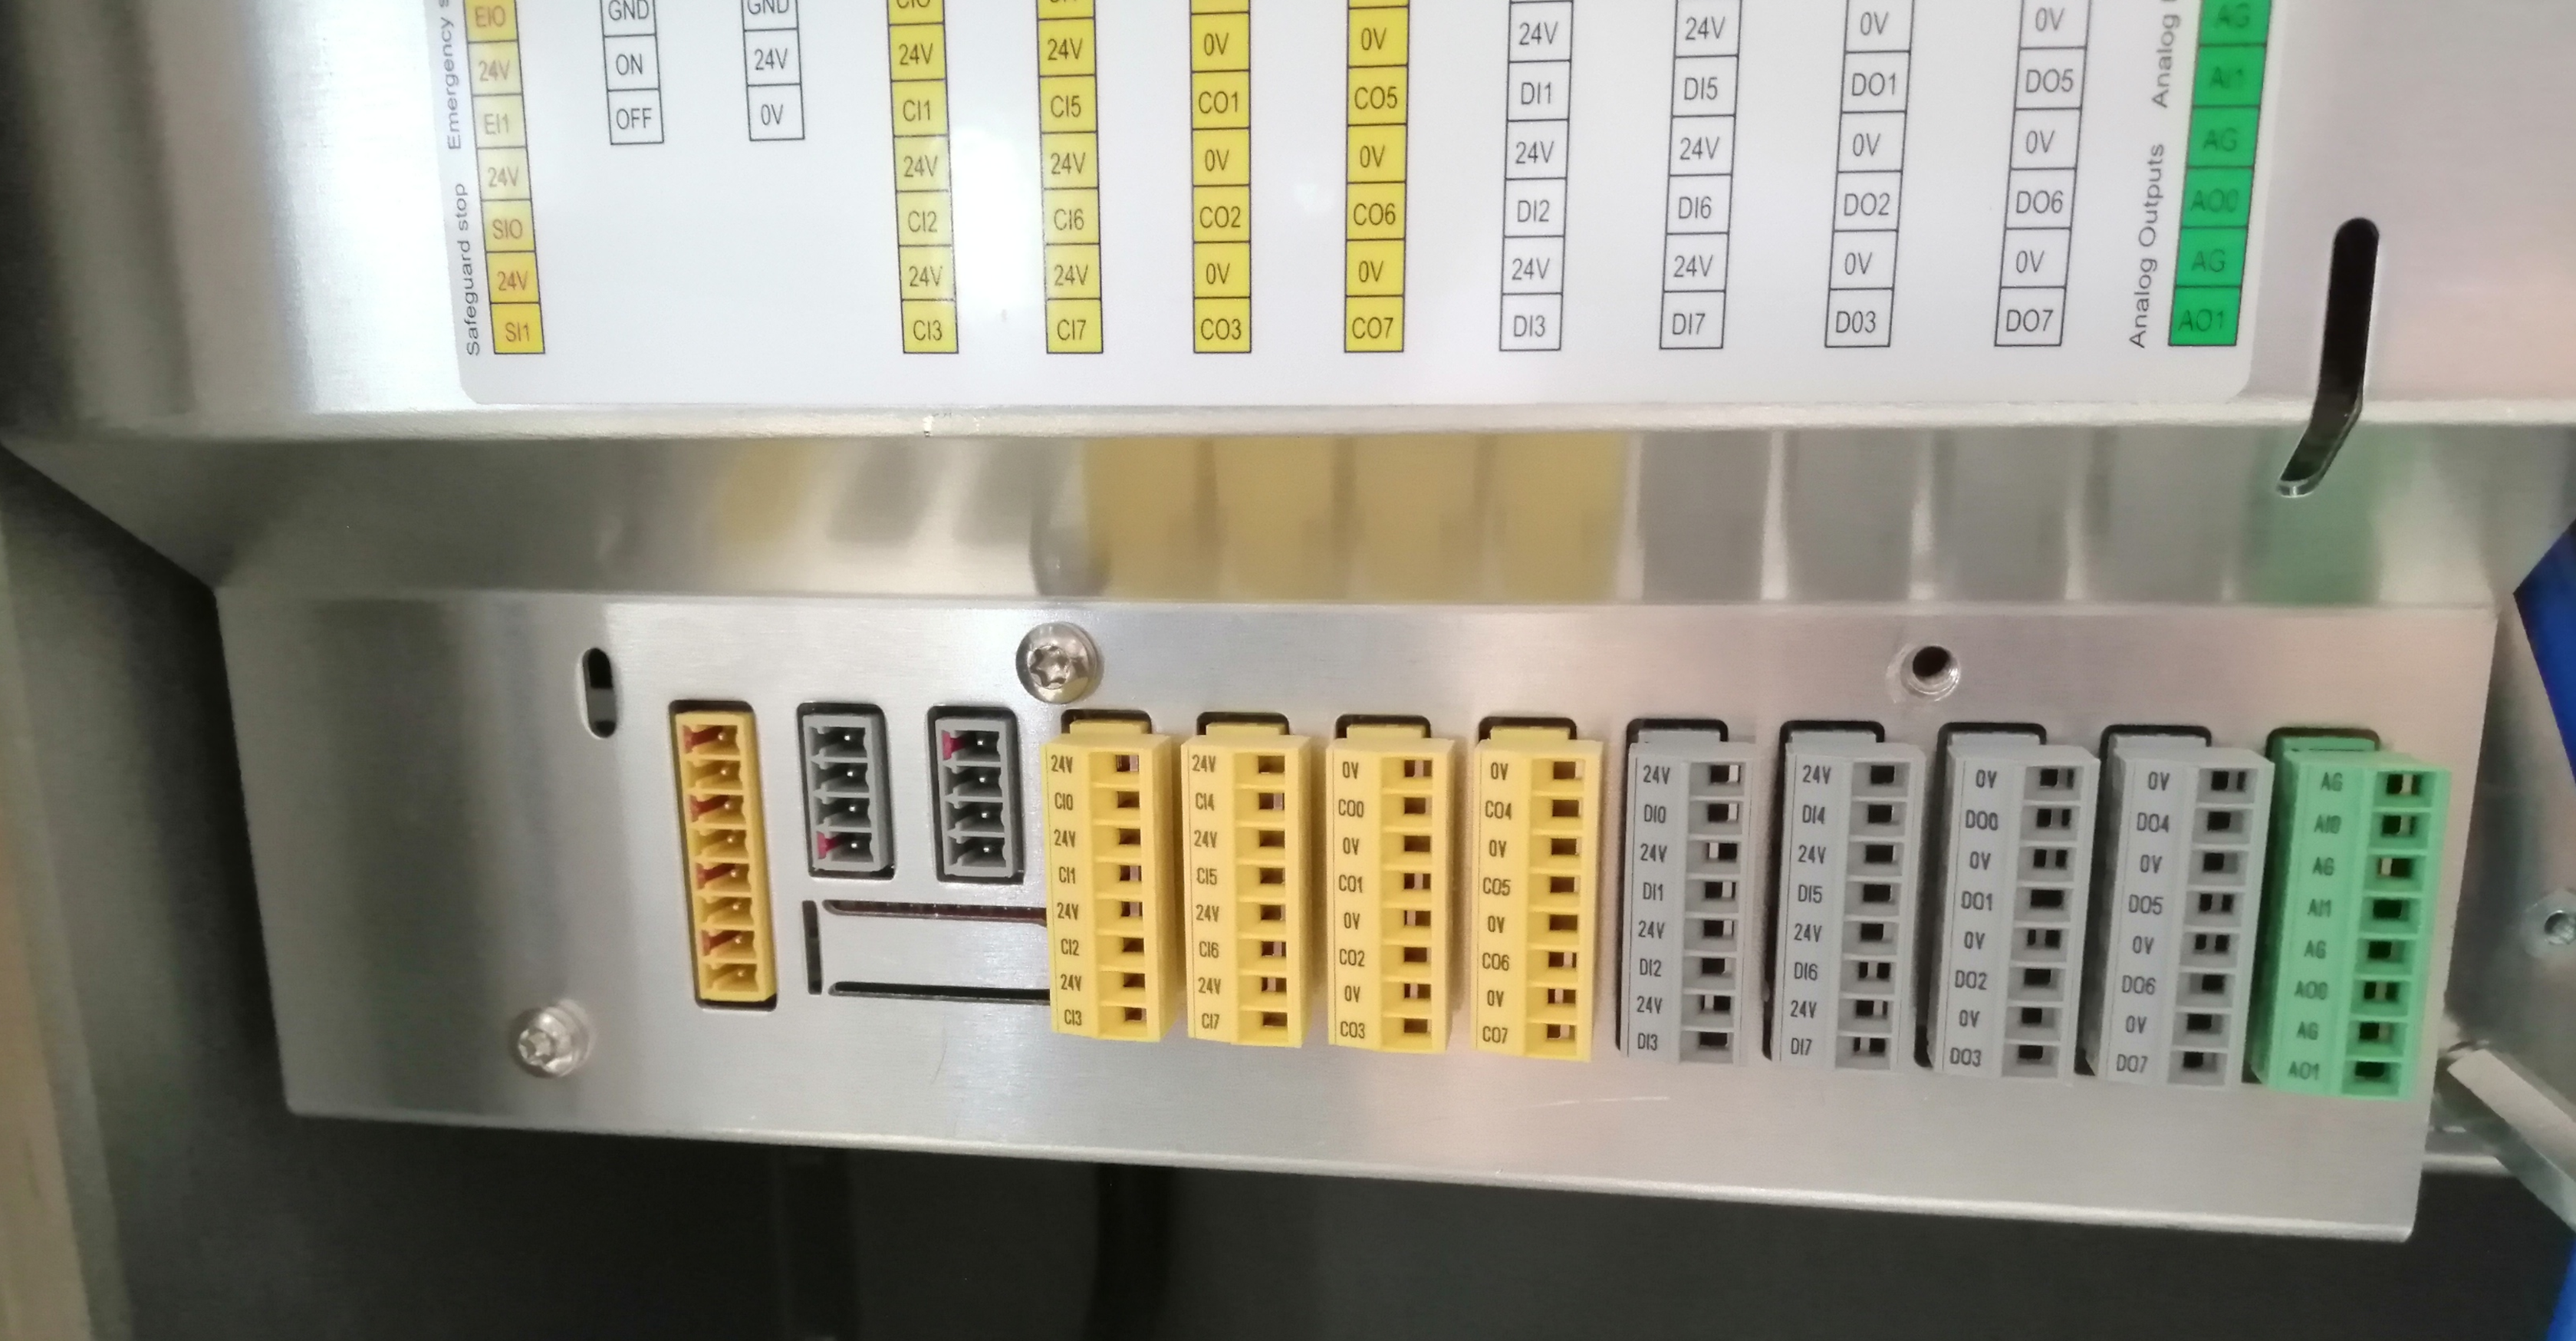
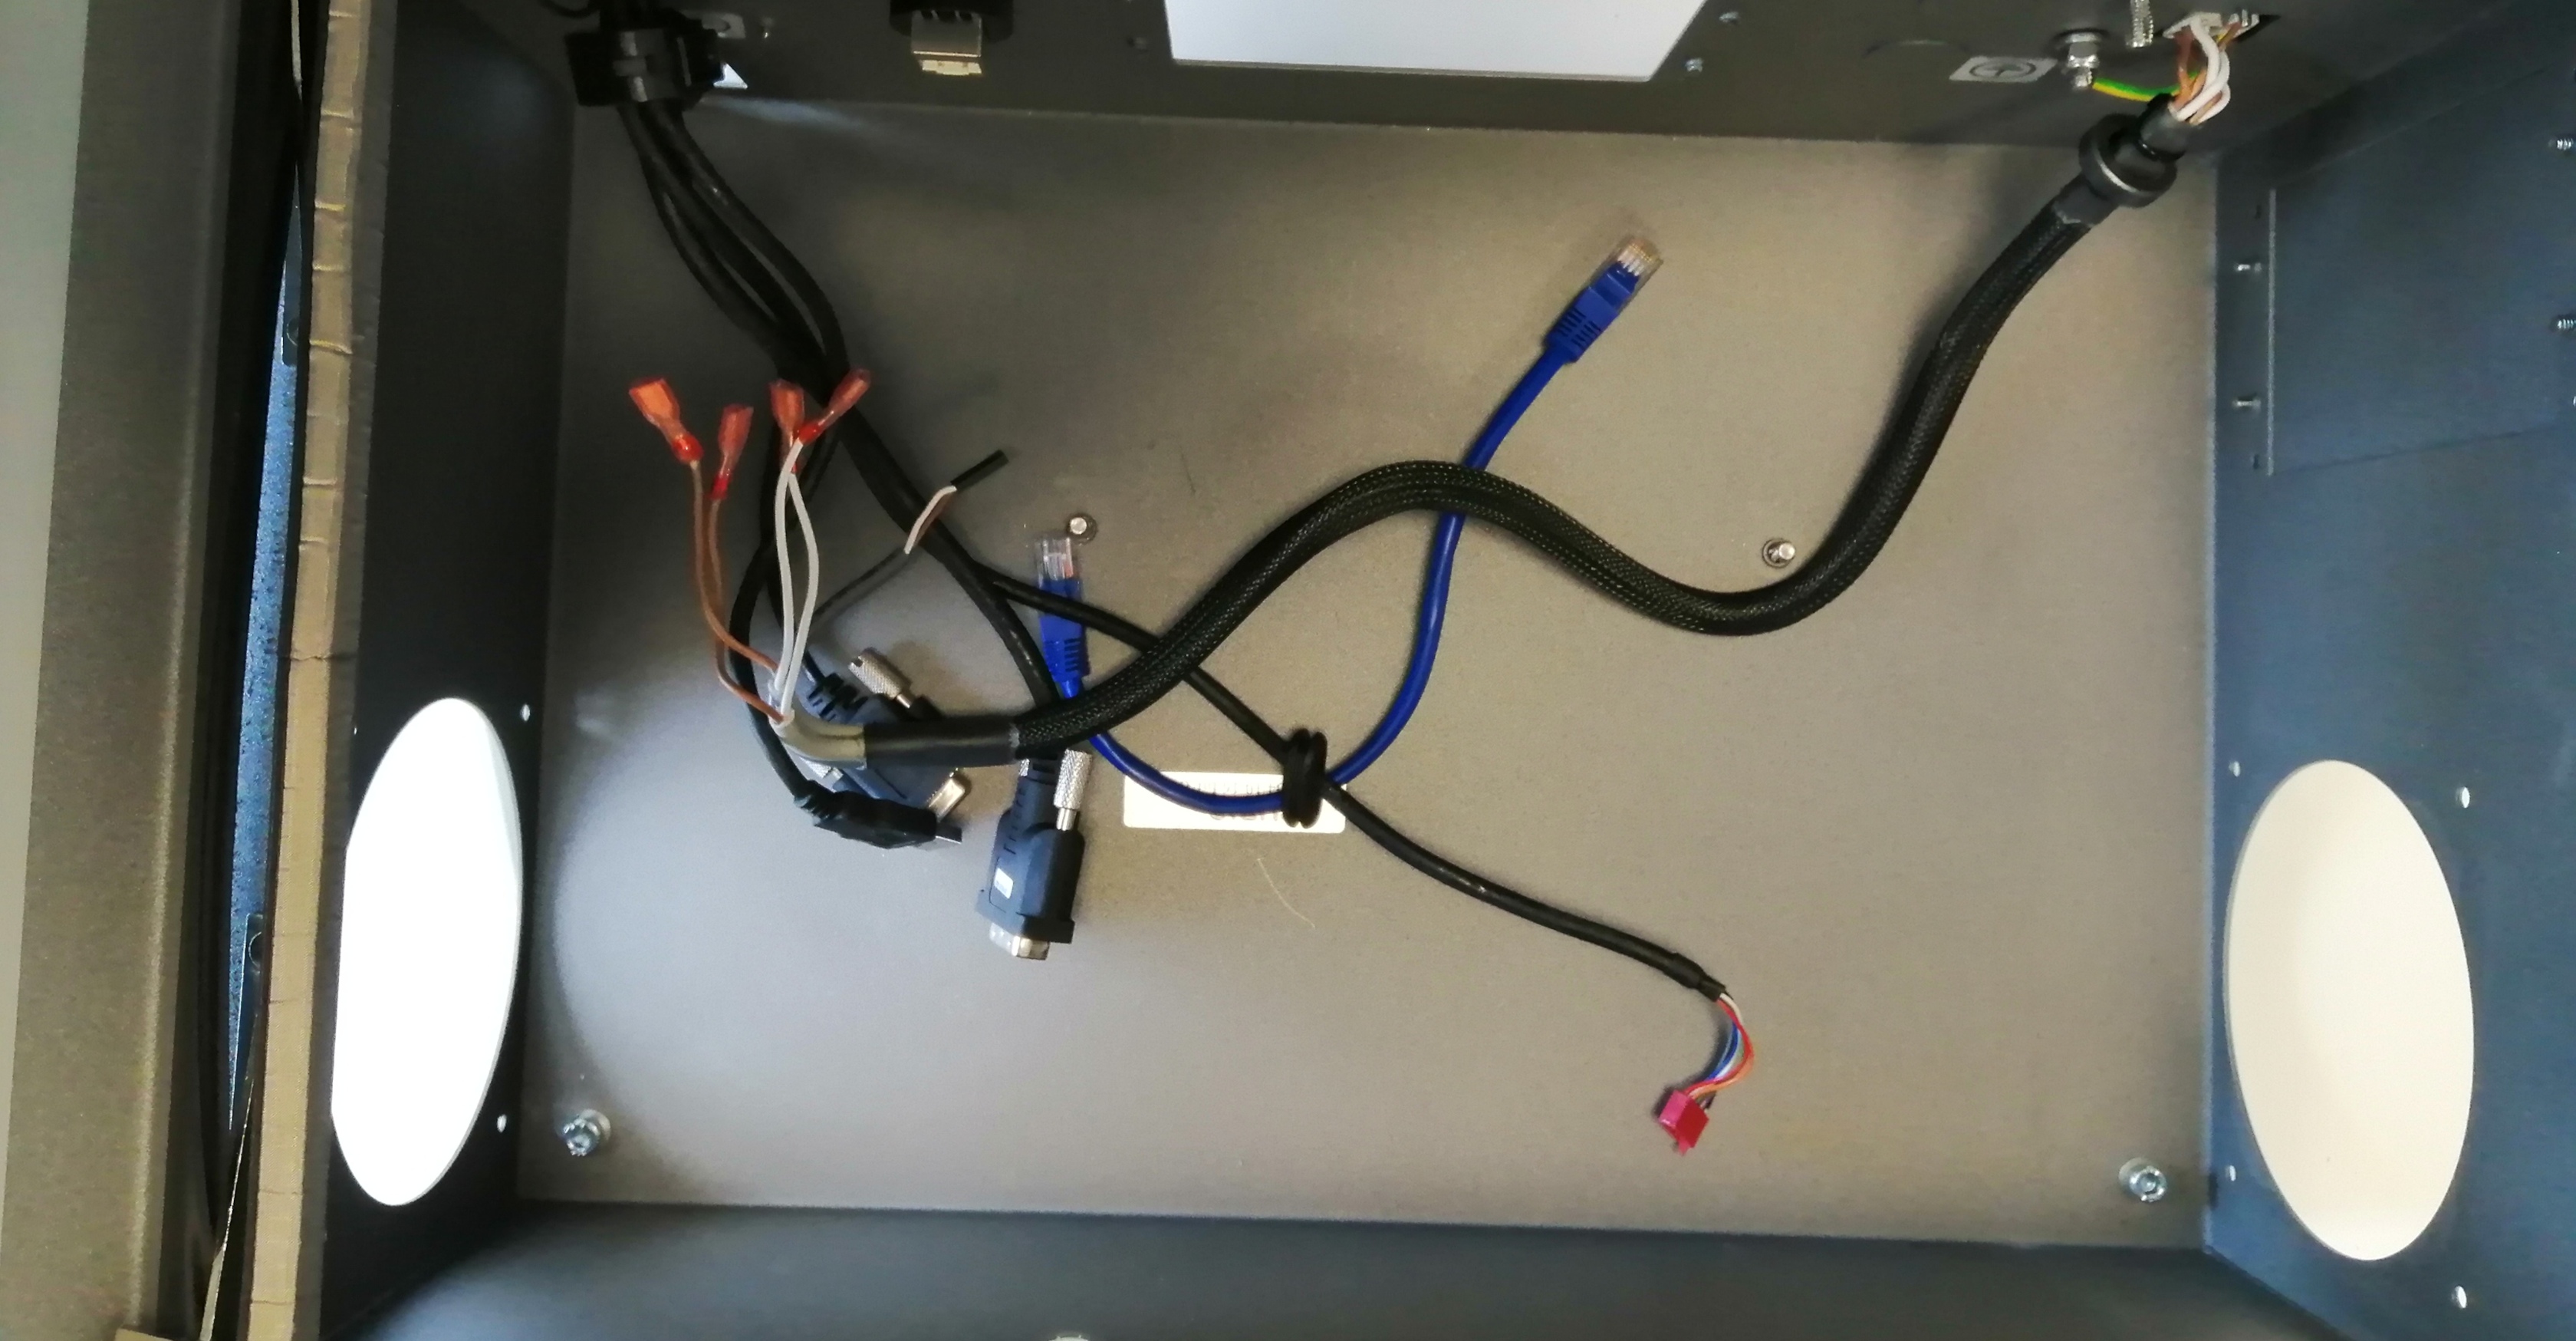
We can see the electronics protected by metal sheets and some wires.
We can see some quick connectors for the I/O and Safety
we can see a usb drive and some other connectors, this may change depending on your model.
Unplug all the connectors, then, using a torx bit carefully remove the shield. Mind the attached connector..
Remove the 4 wire power connector located on the top left corner, and the 10 wire flex connector located on the right
Using the allen bit, remove the 4 screws holding the mounting brackets. 2 on each side.
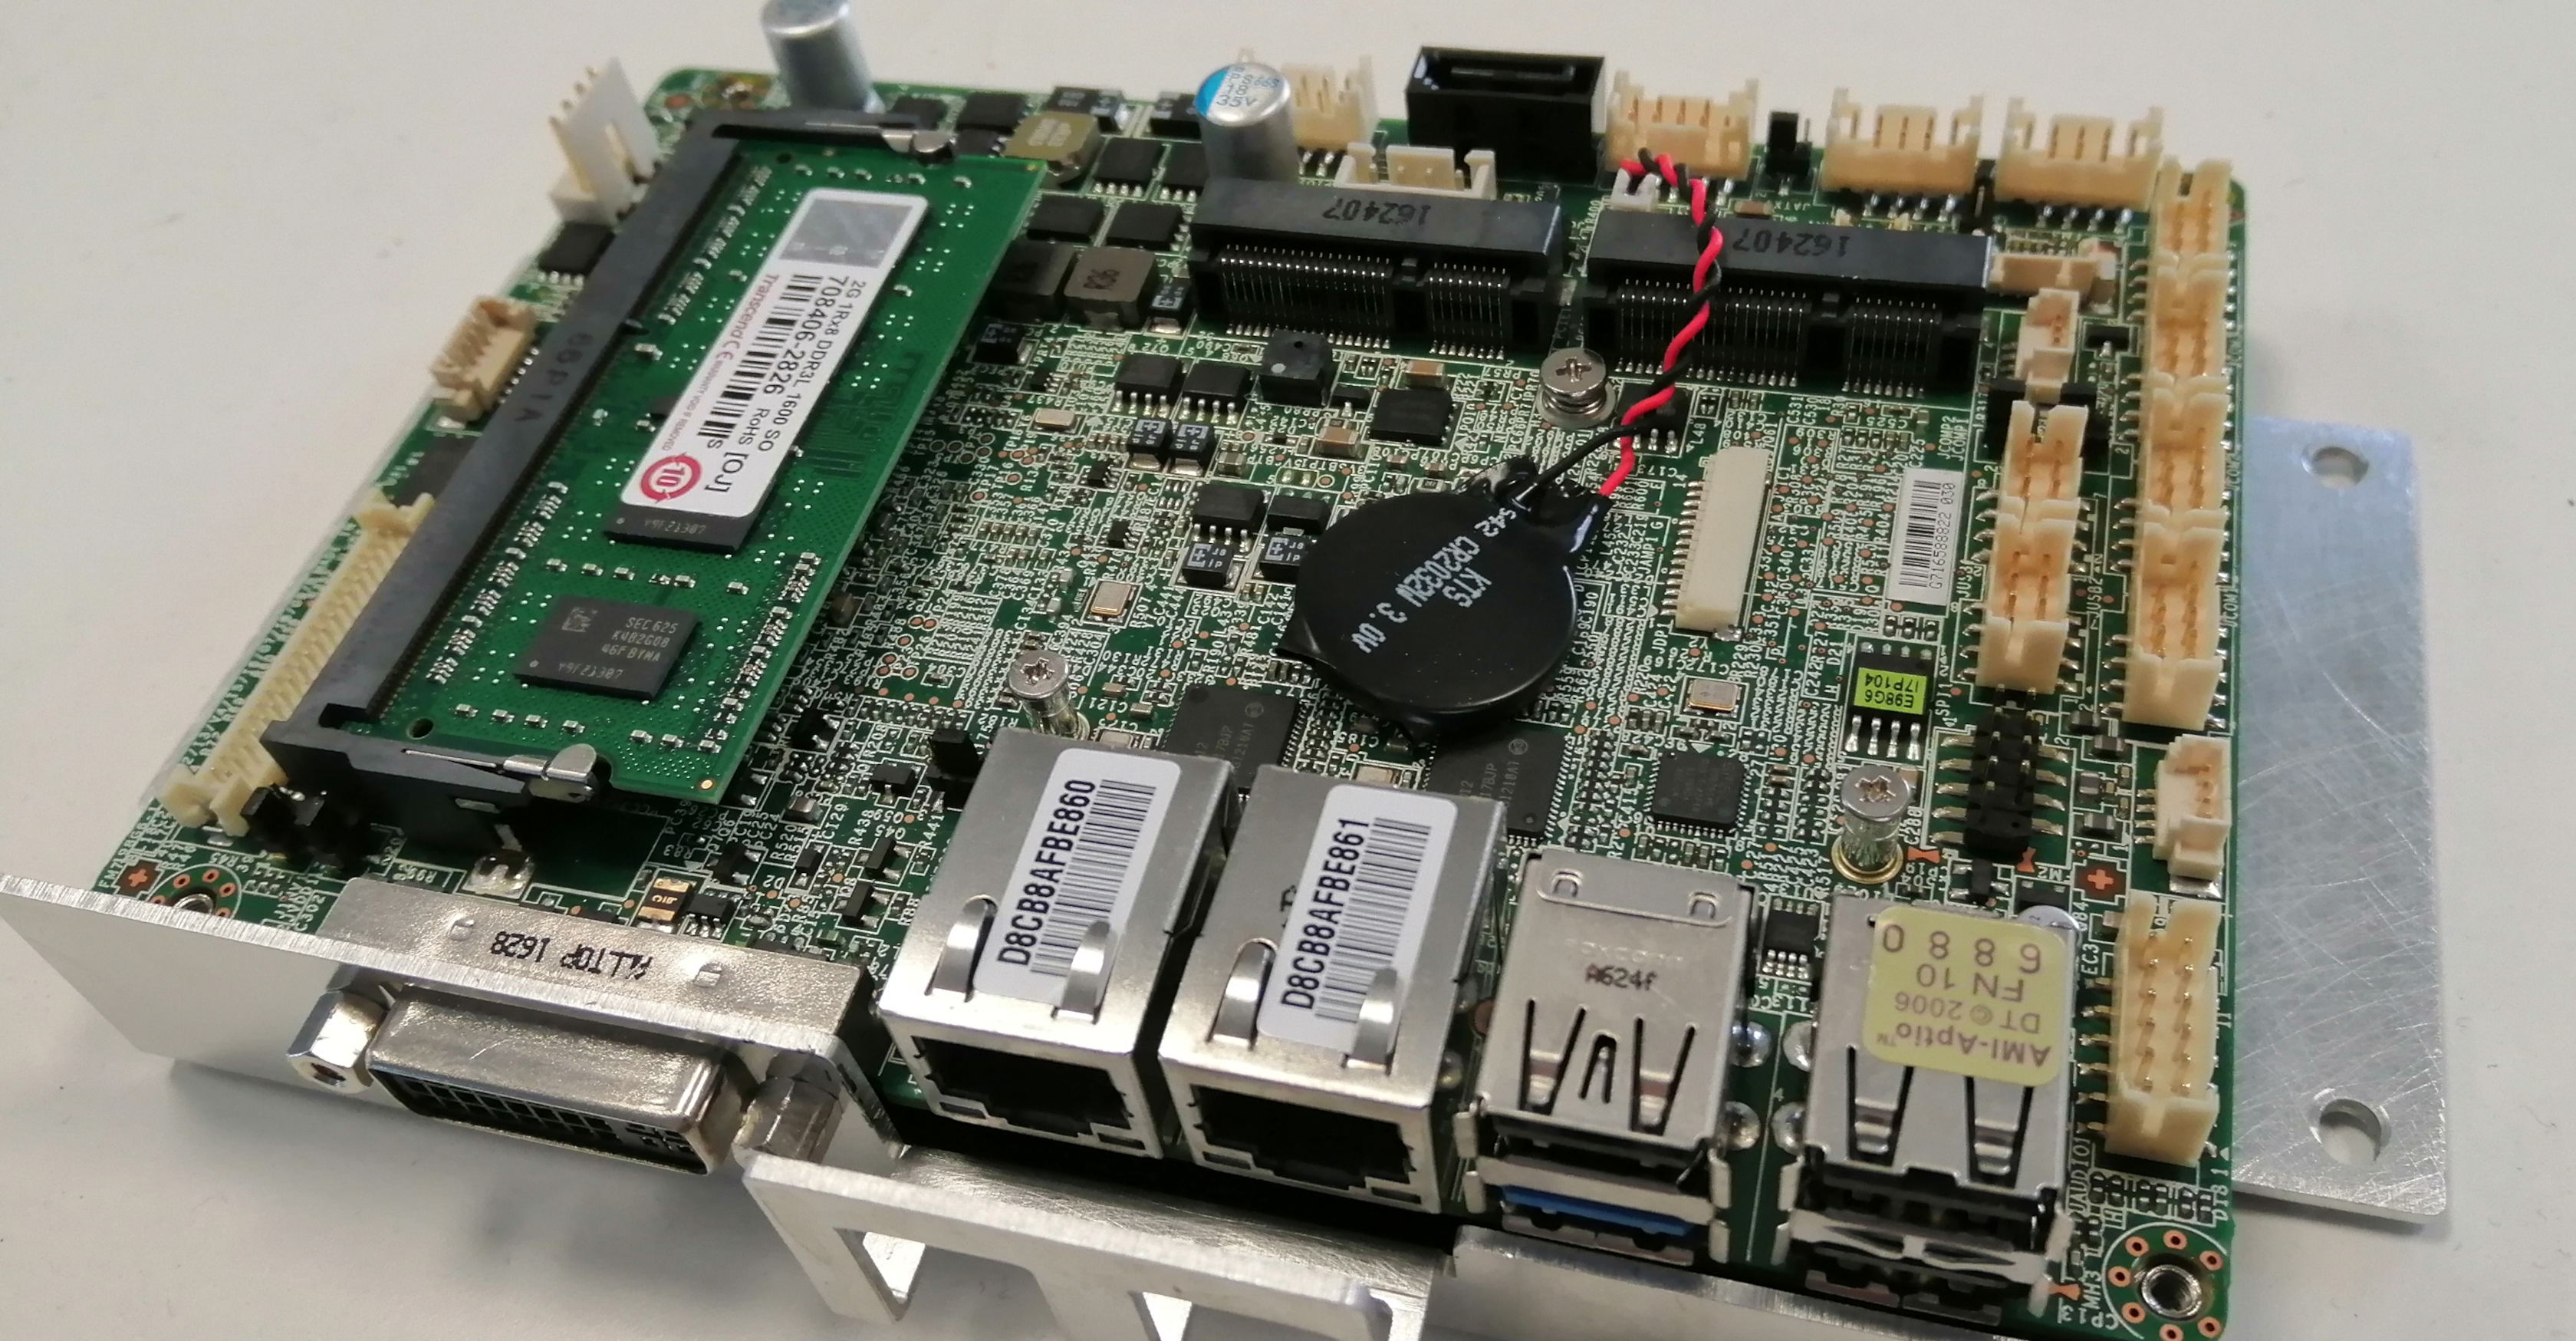
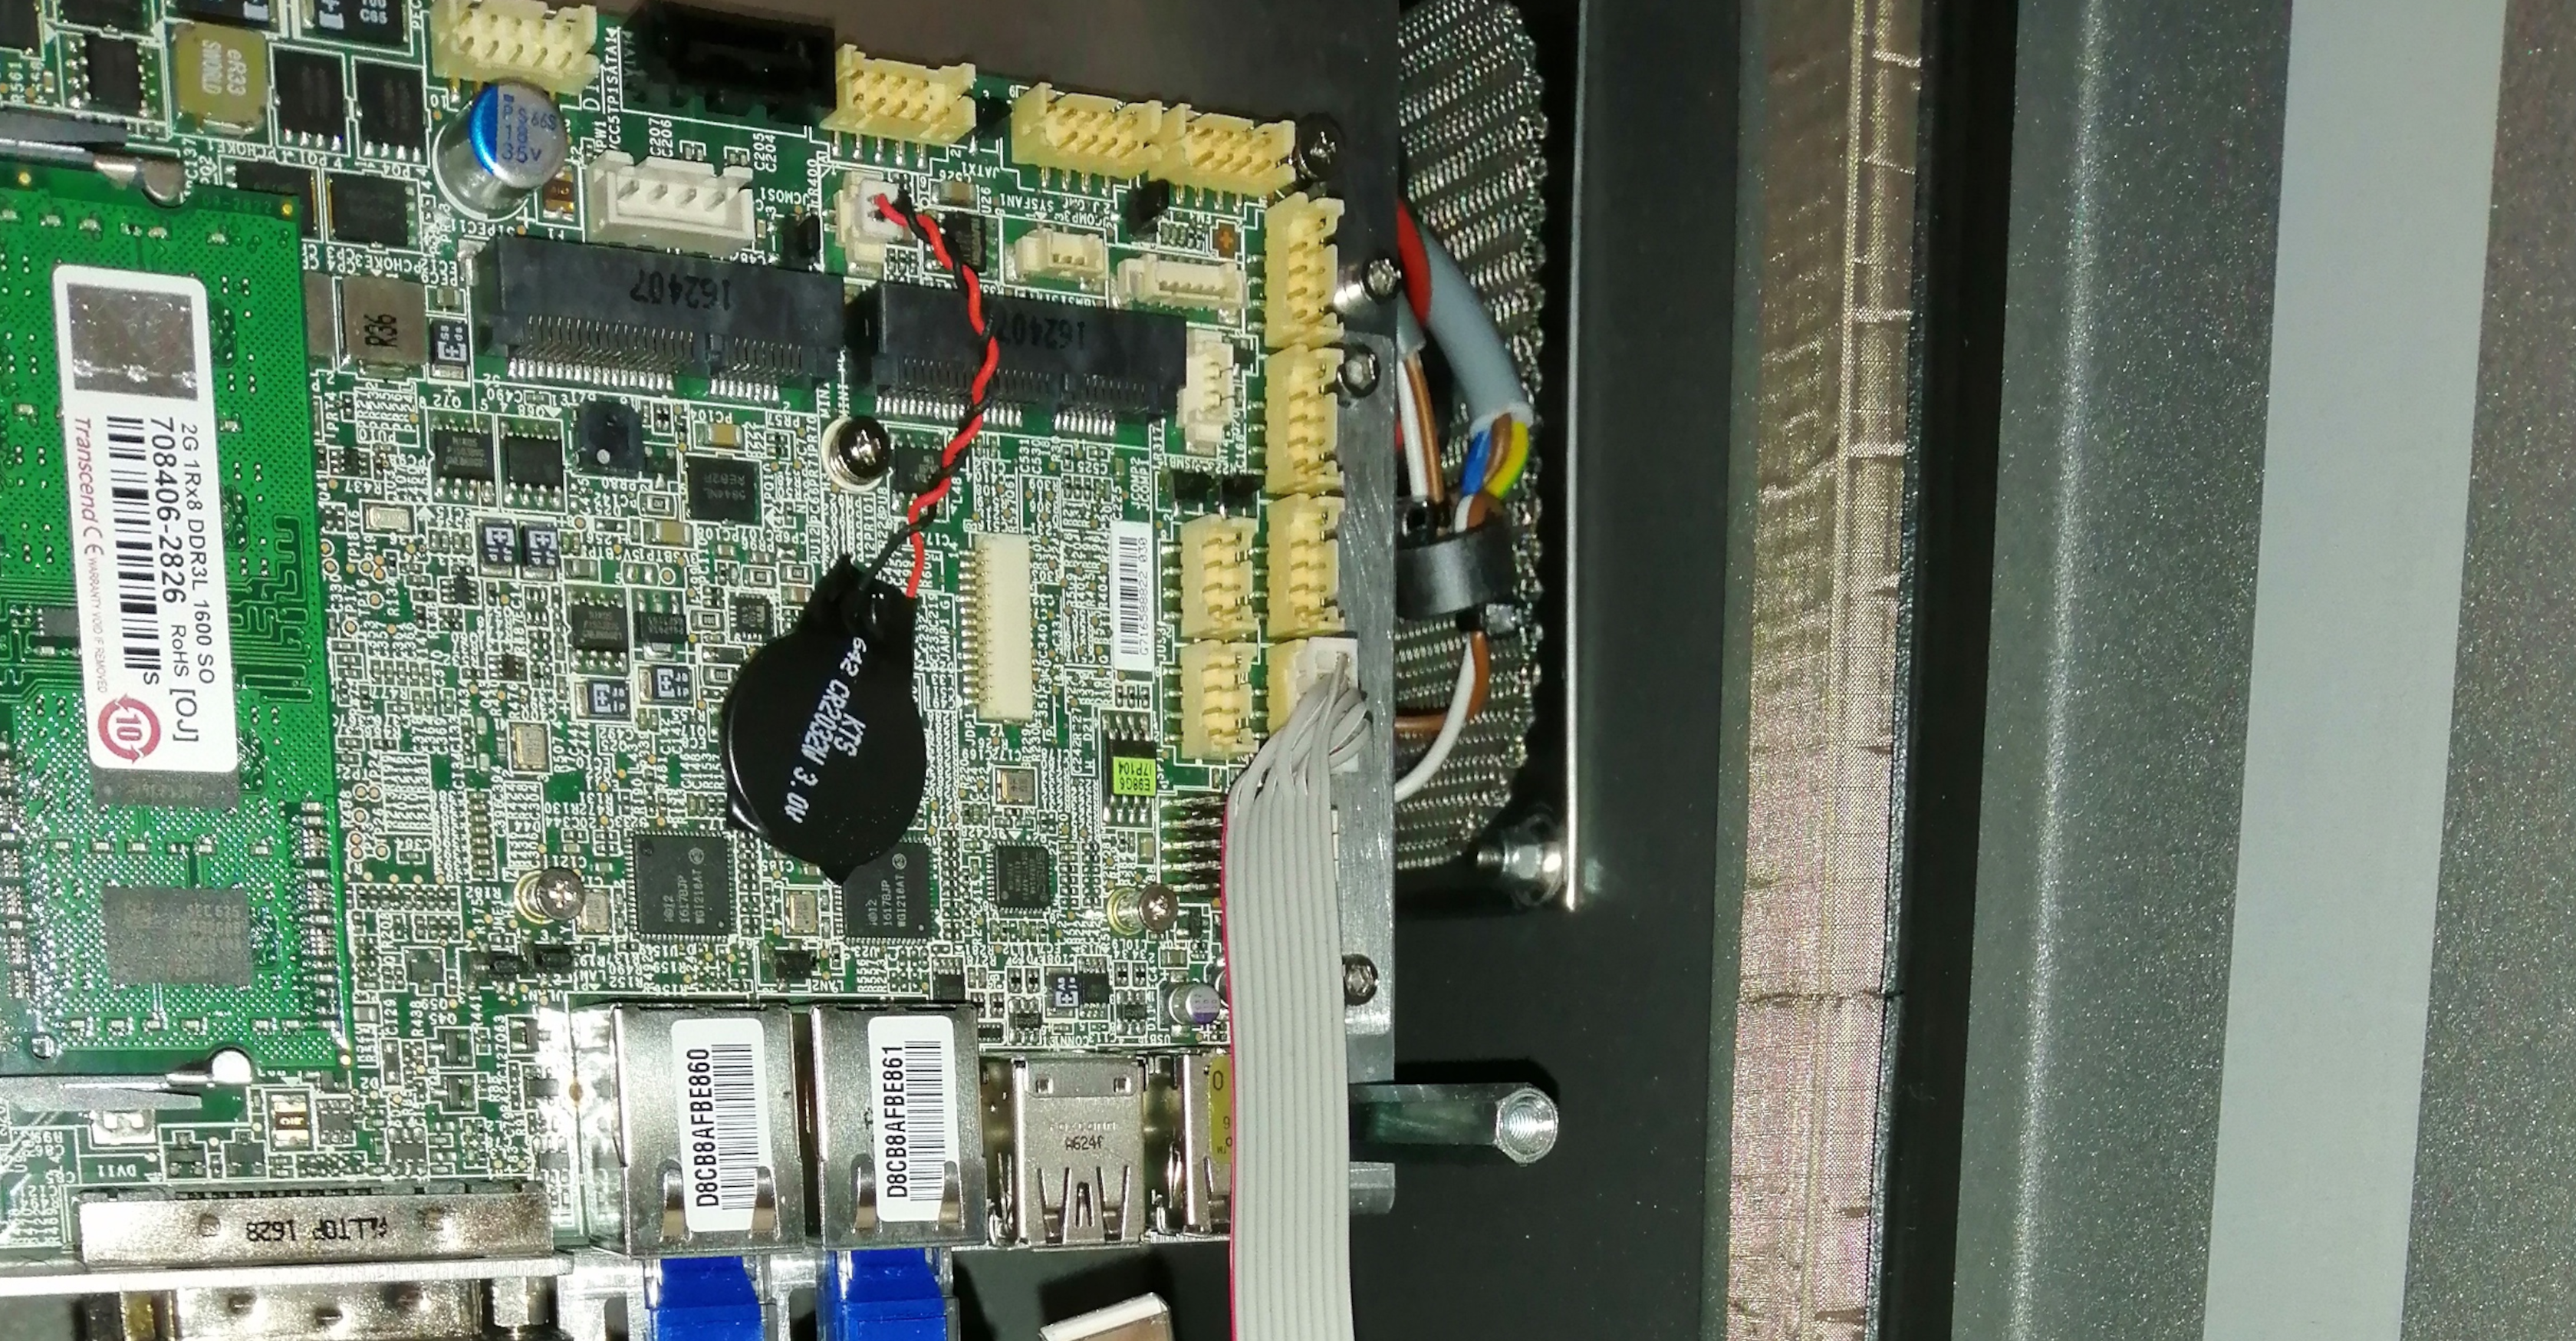
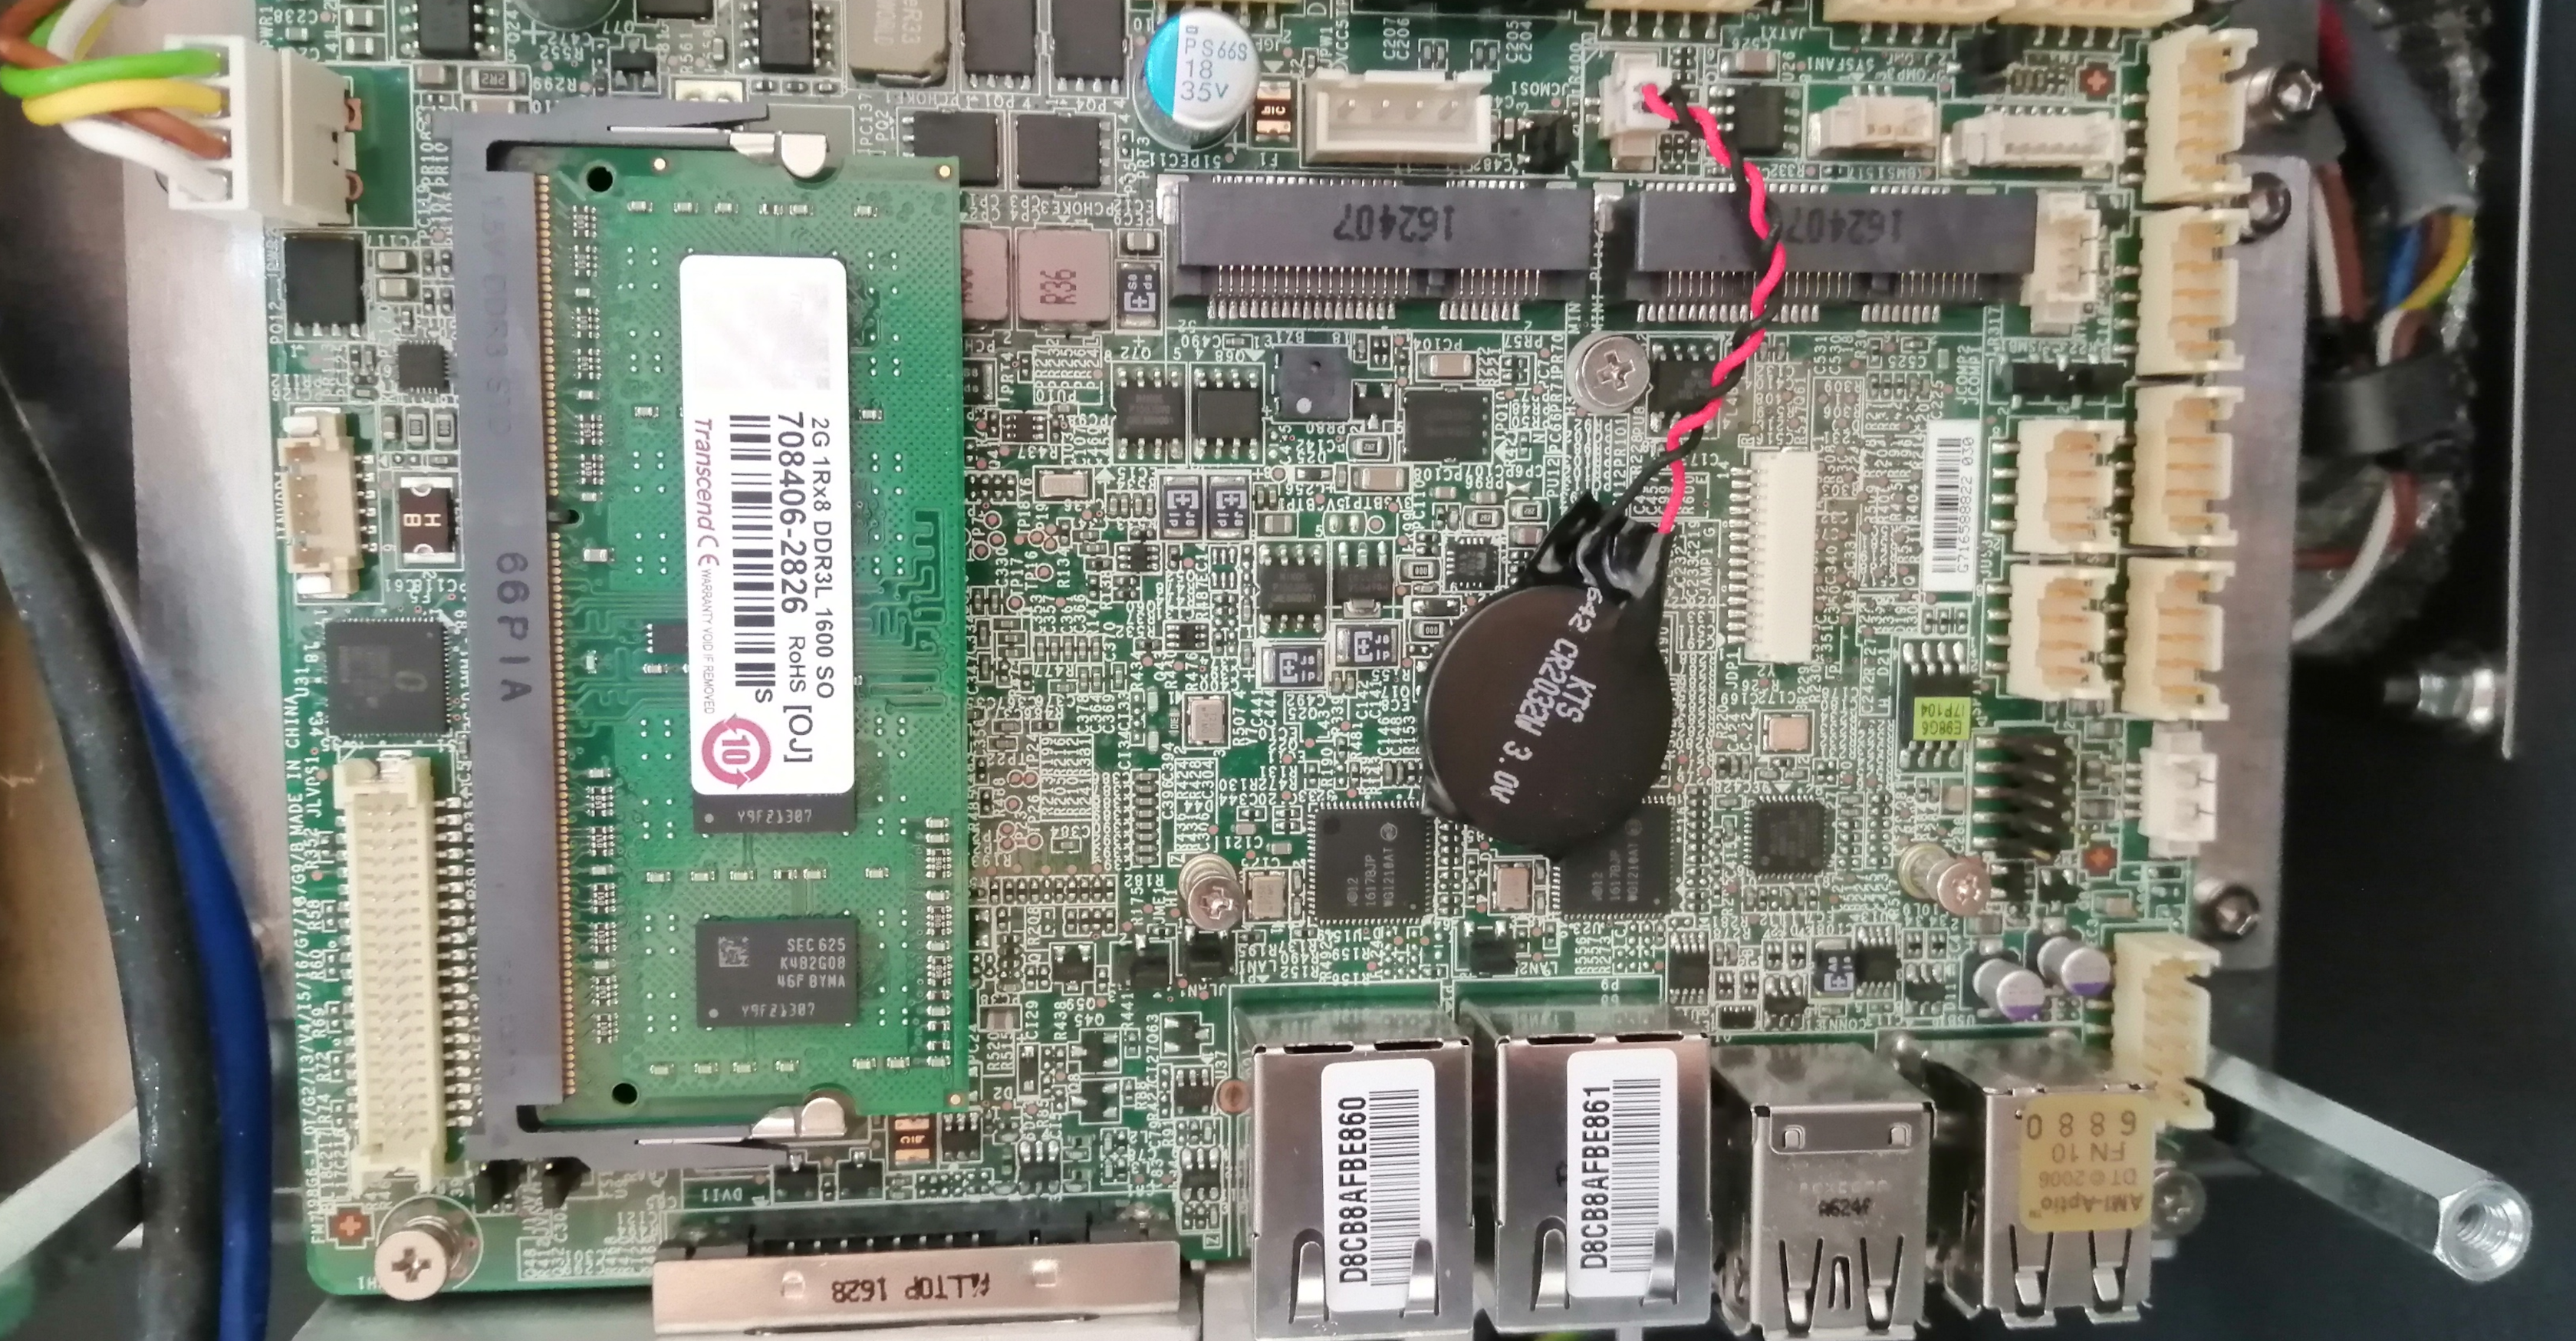
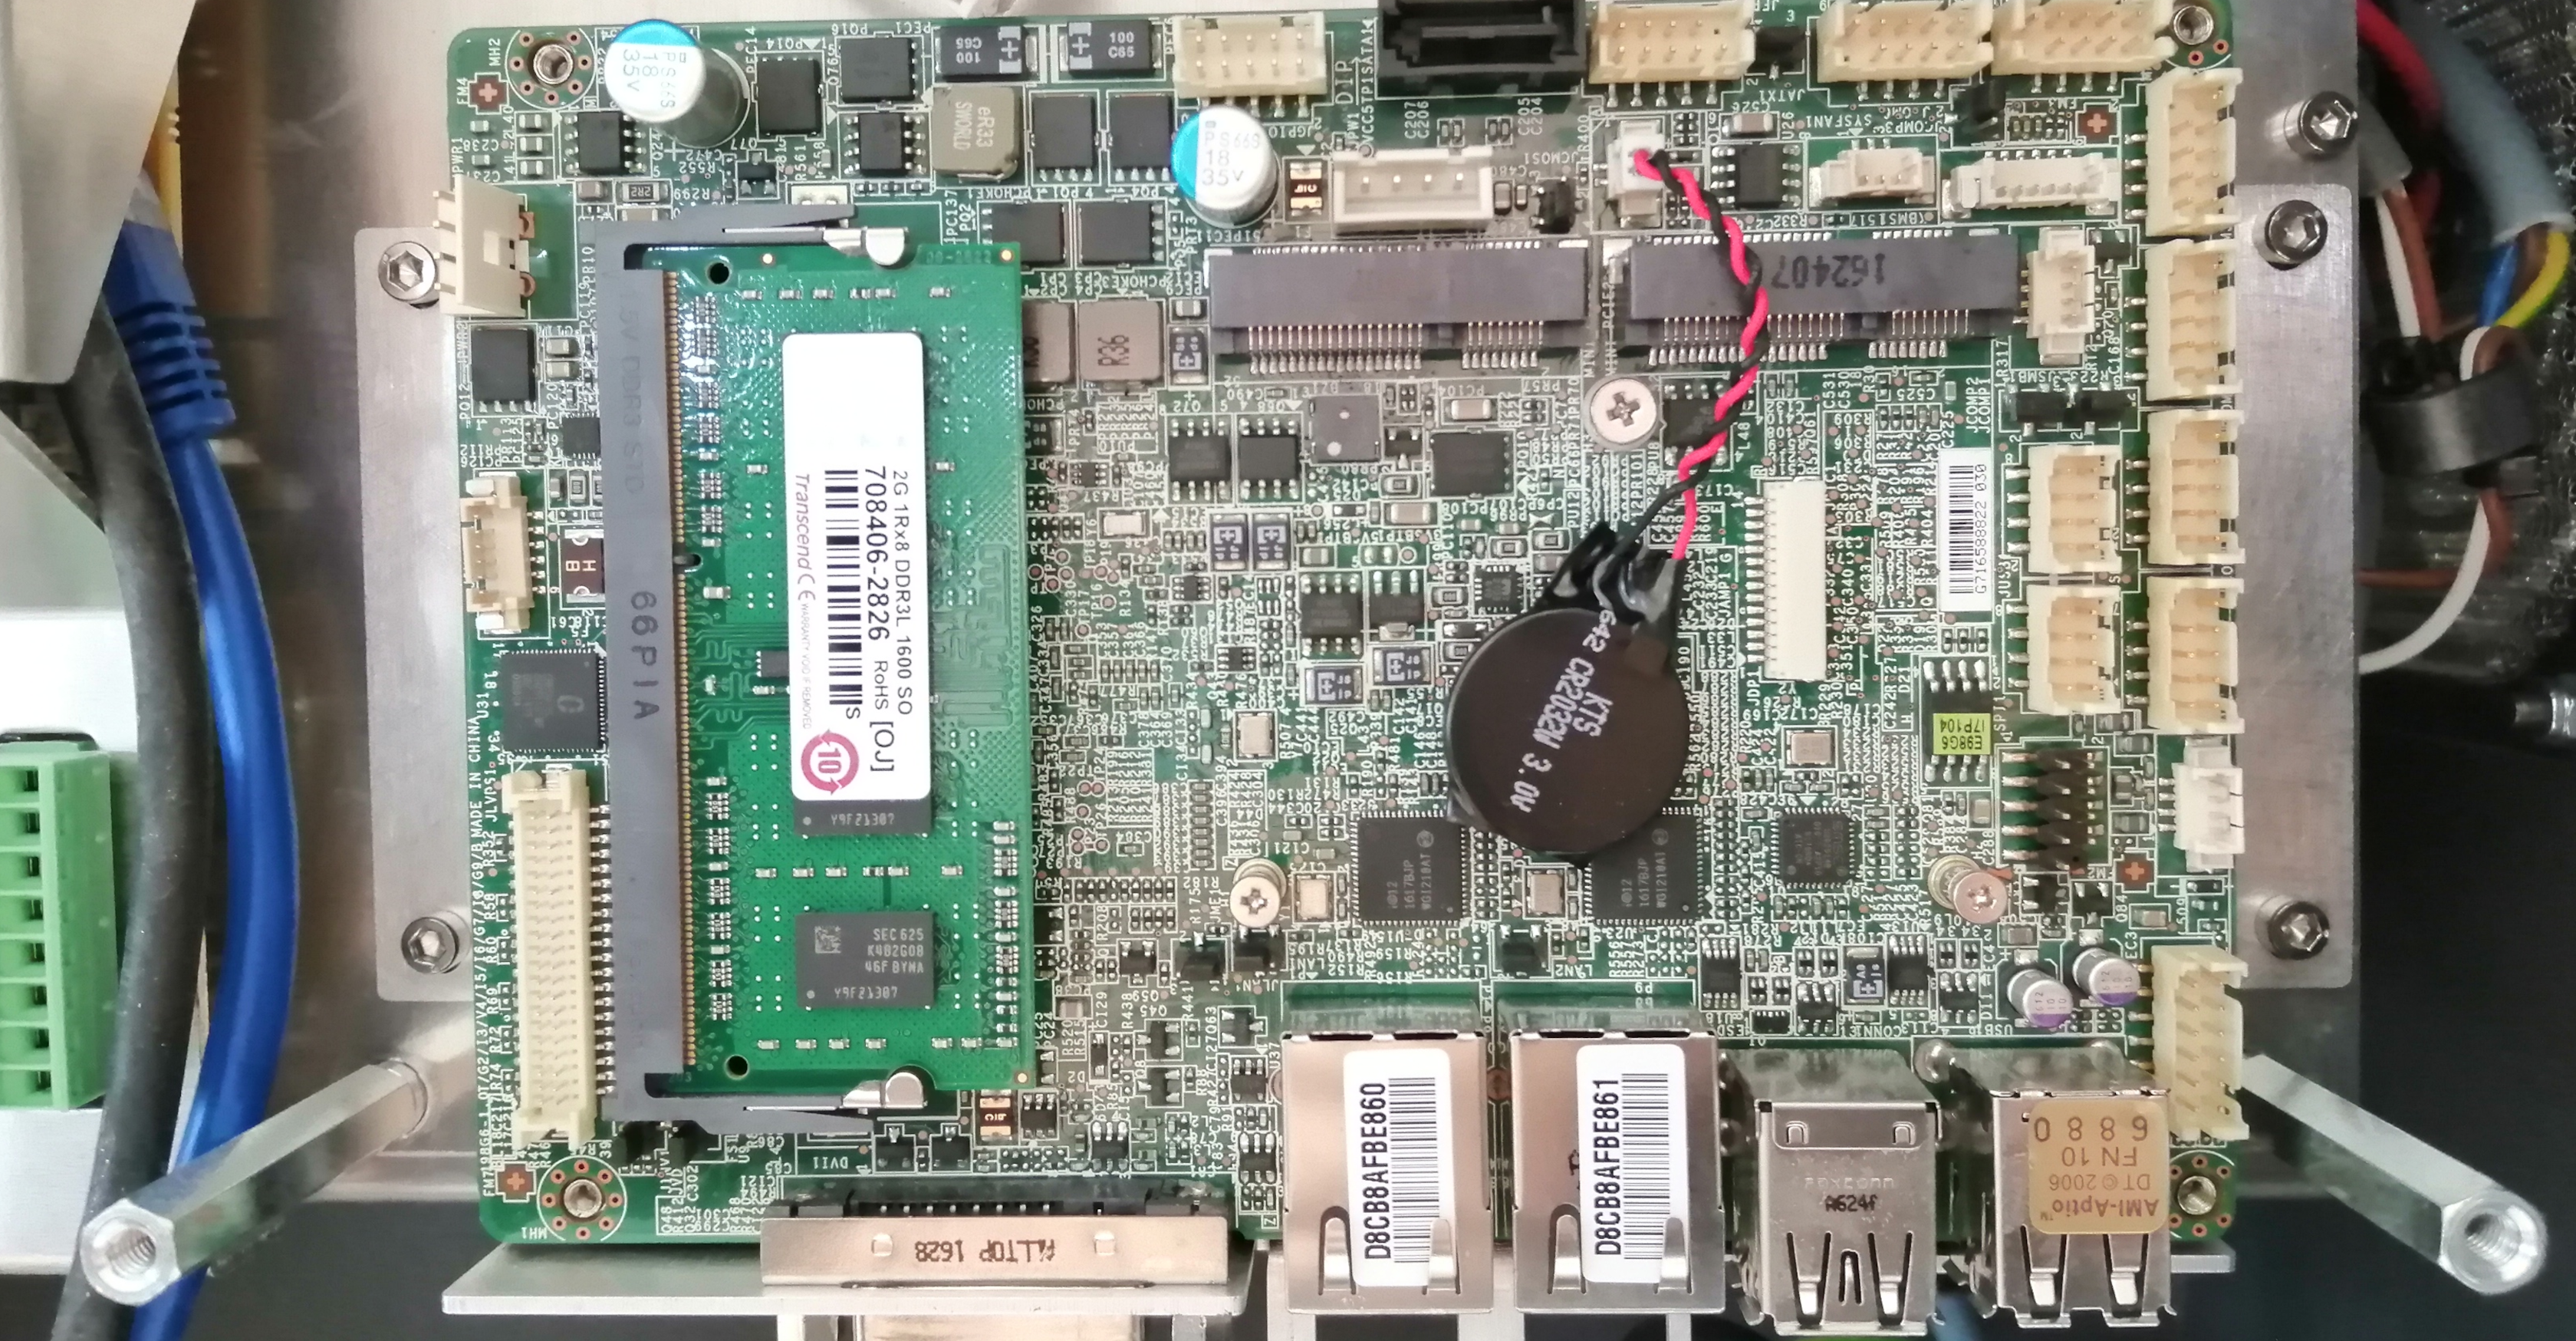
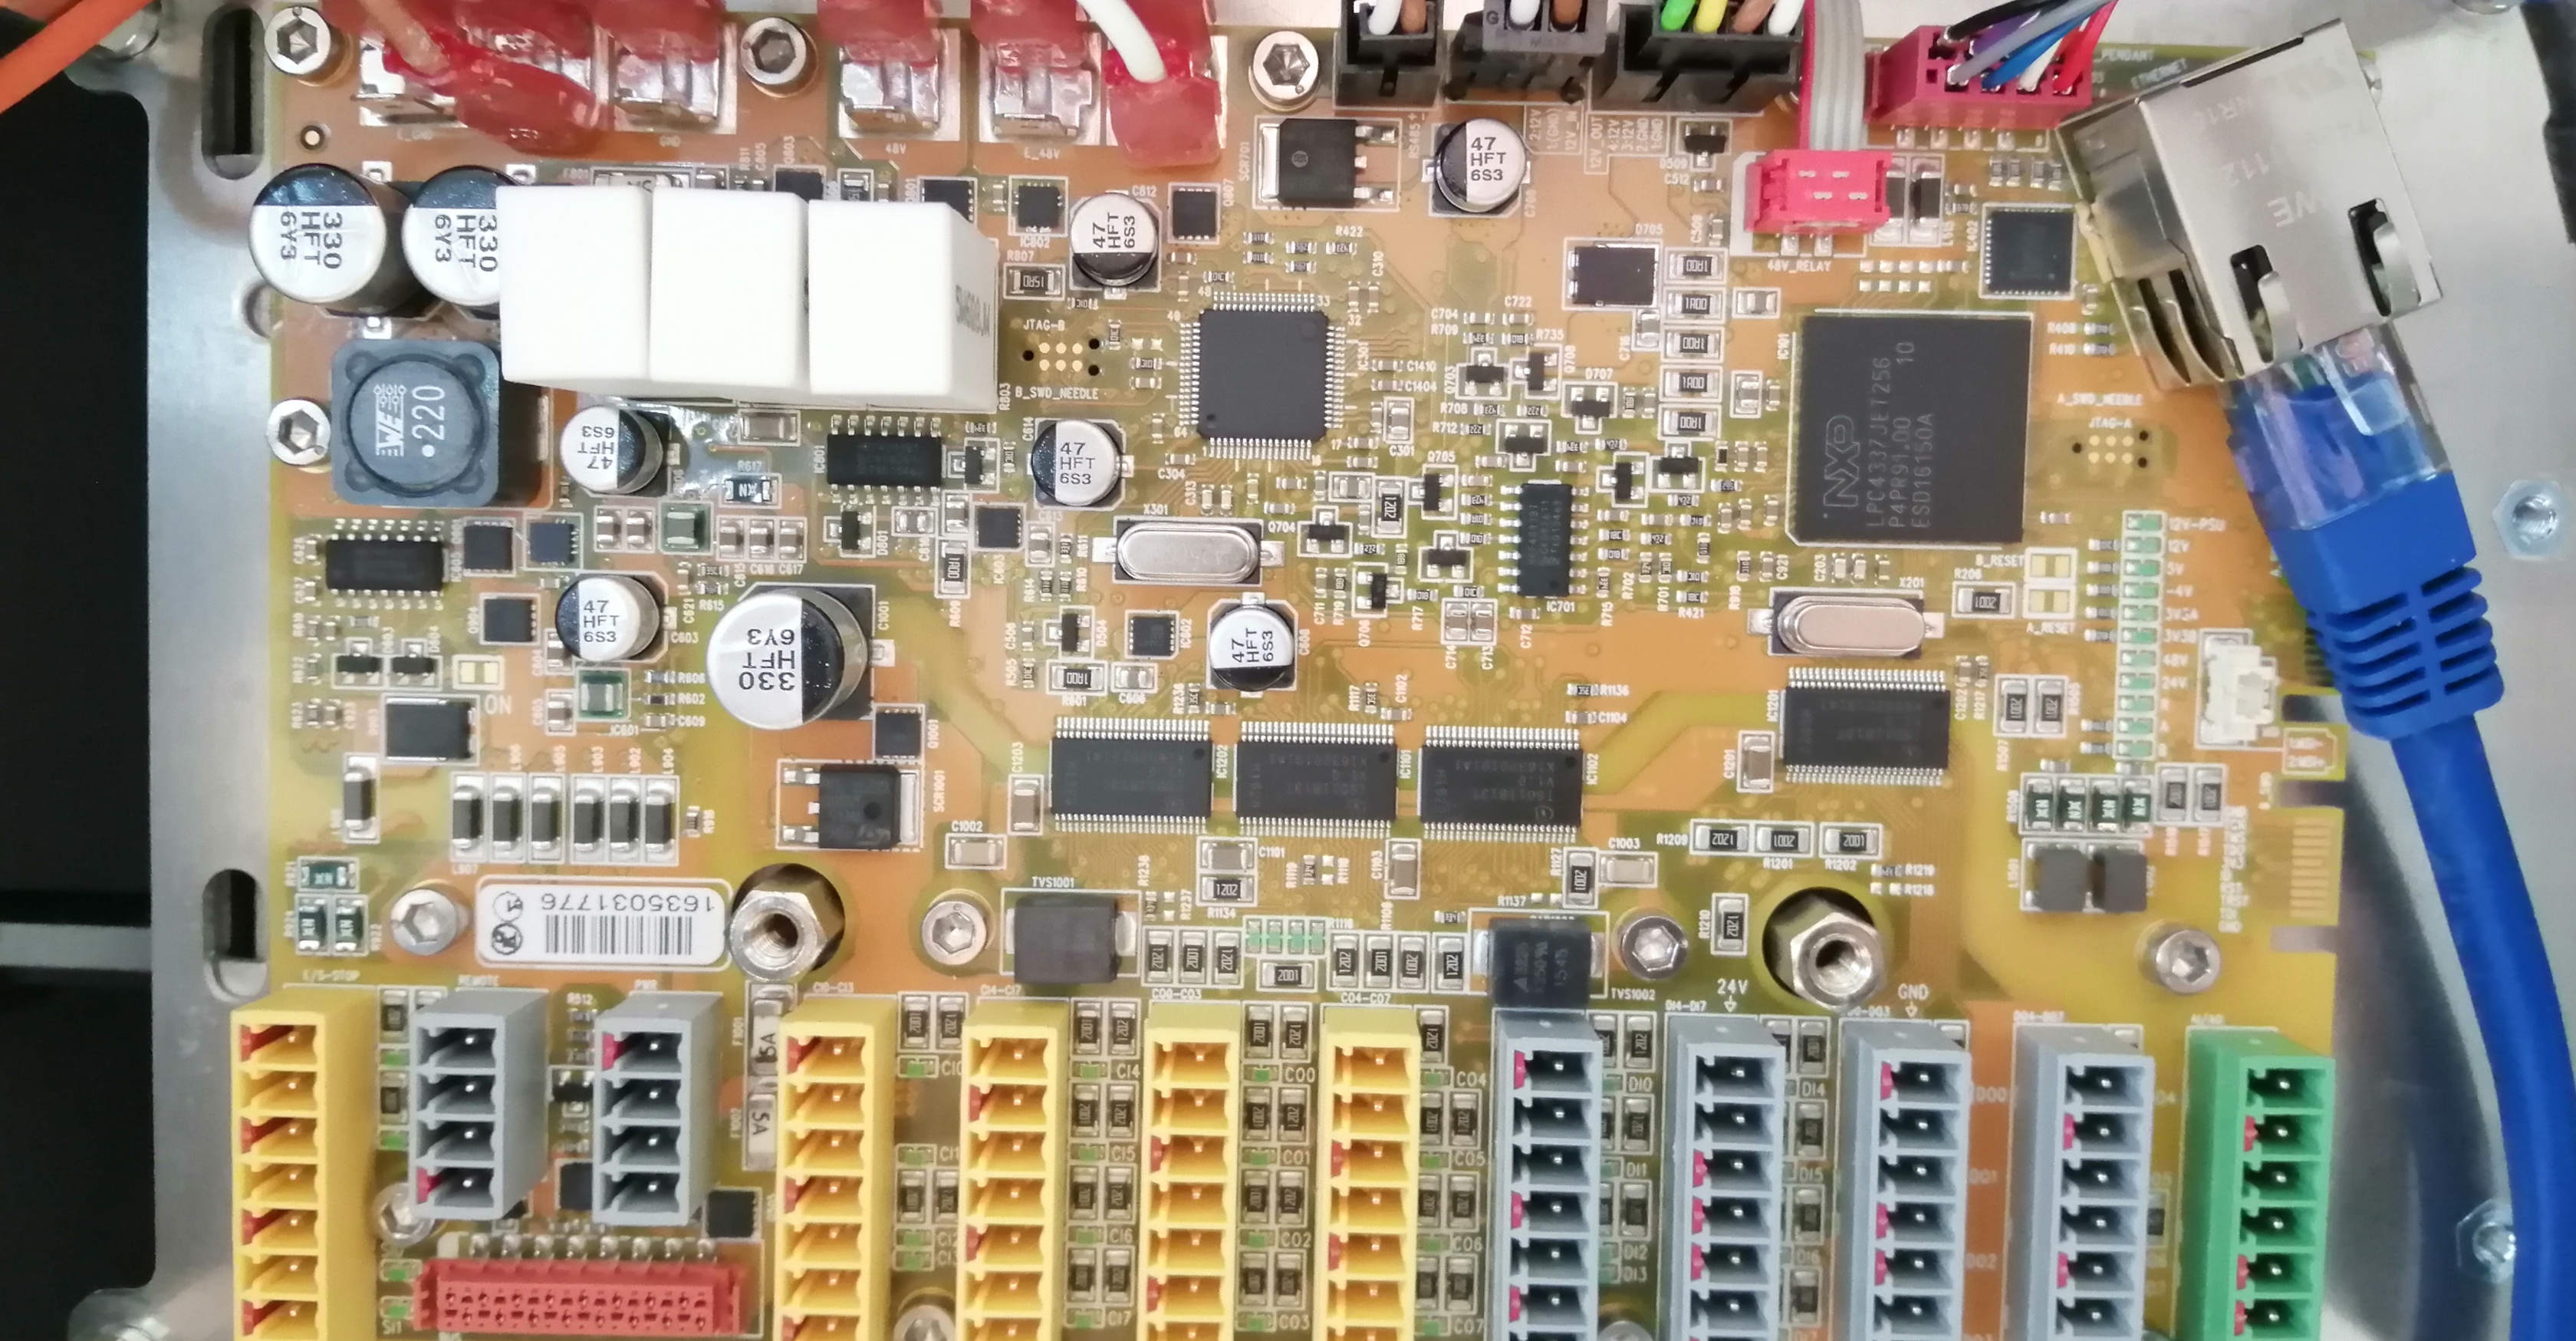
The board itself seems to be a small form factor general purpose computer with some additional I/O ports
Take out the connectors one by one, if they are stiff try carefully wiggling them out.
Remove the screws and then take out the metal shield slightly tilting it towards you
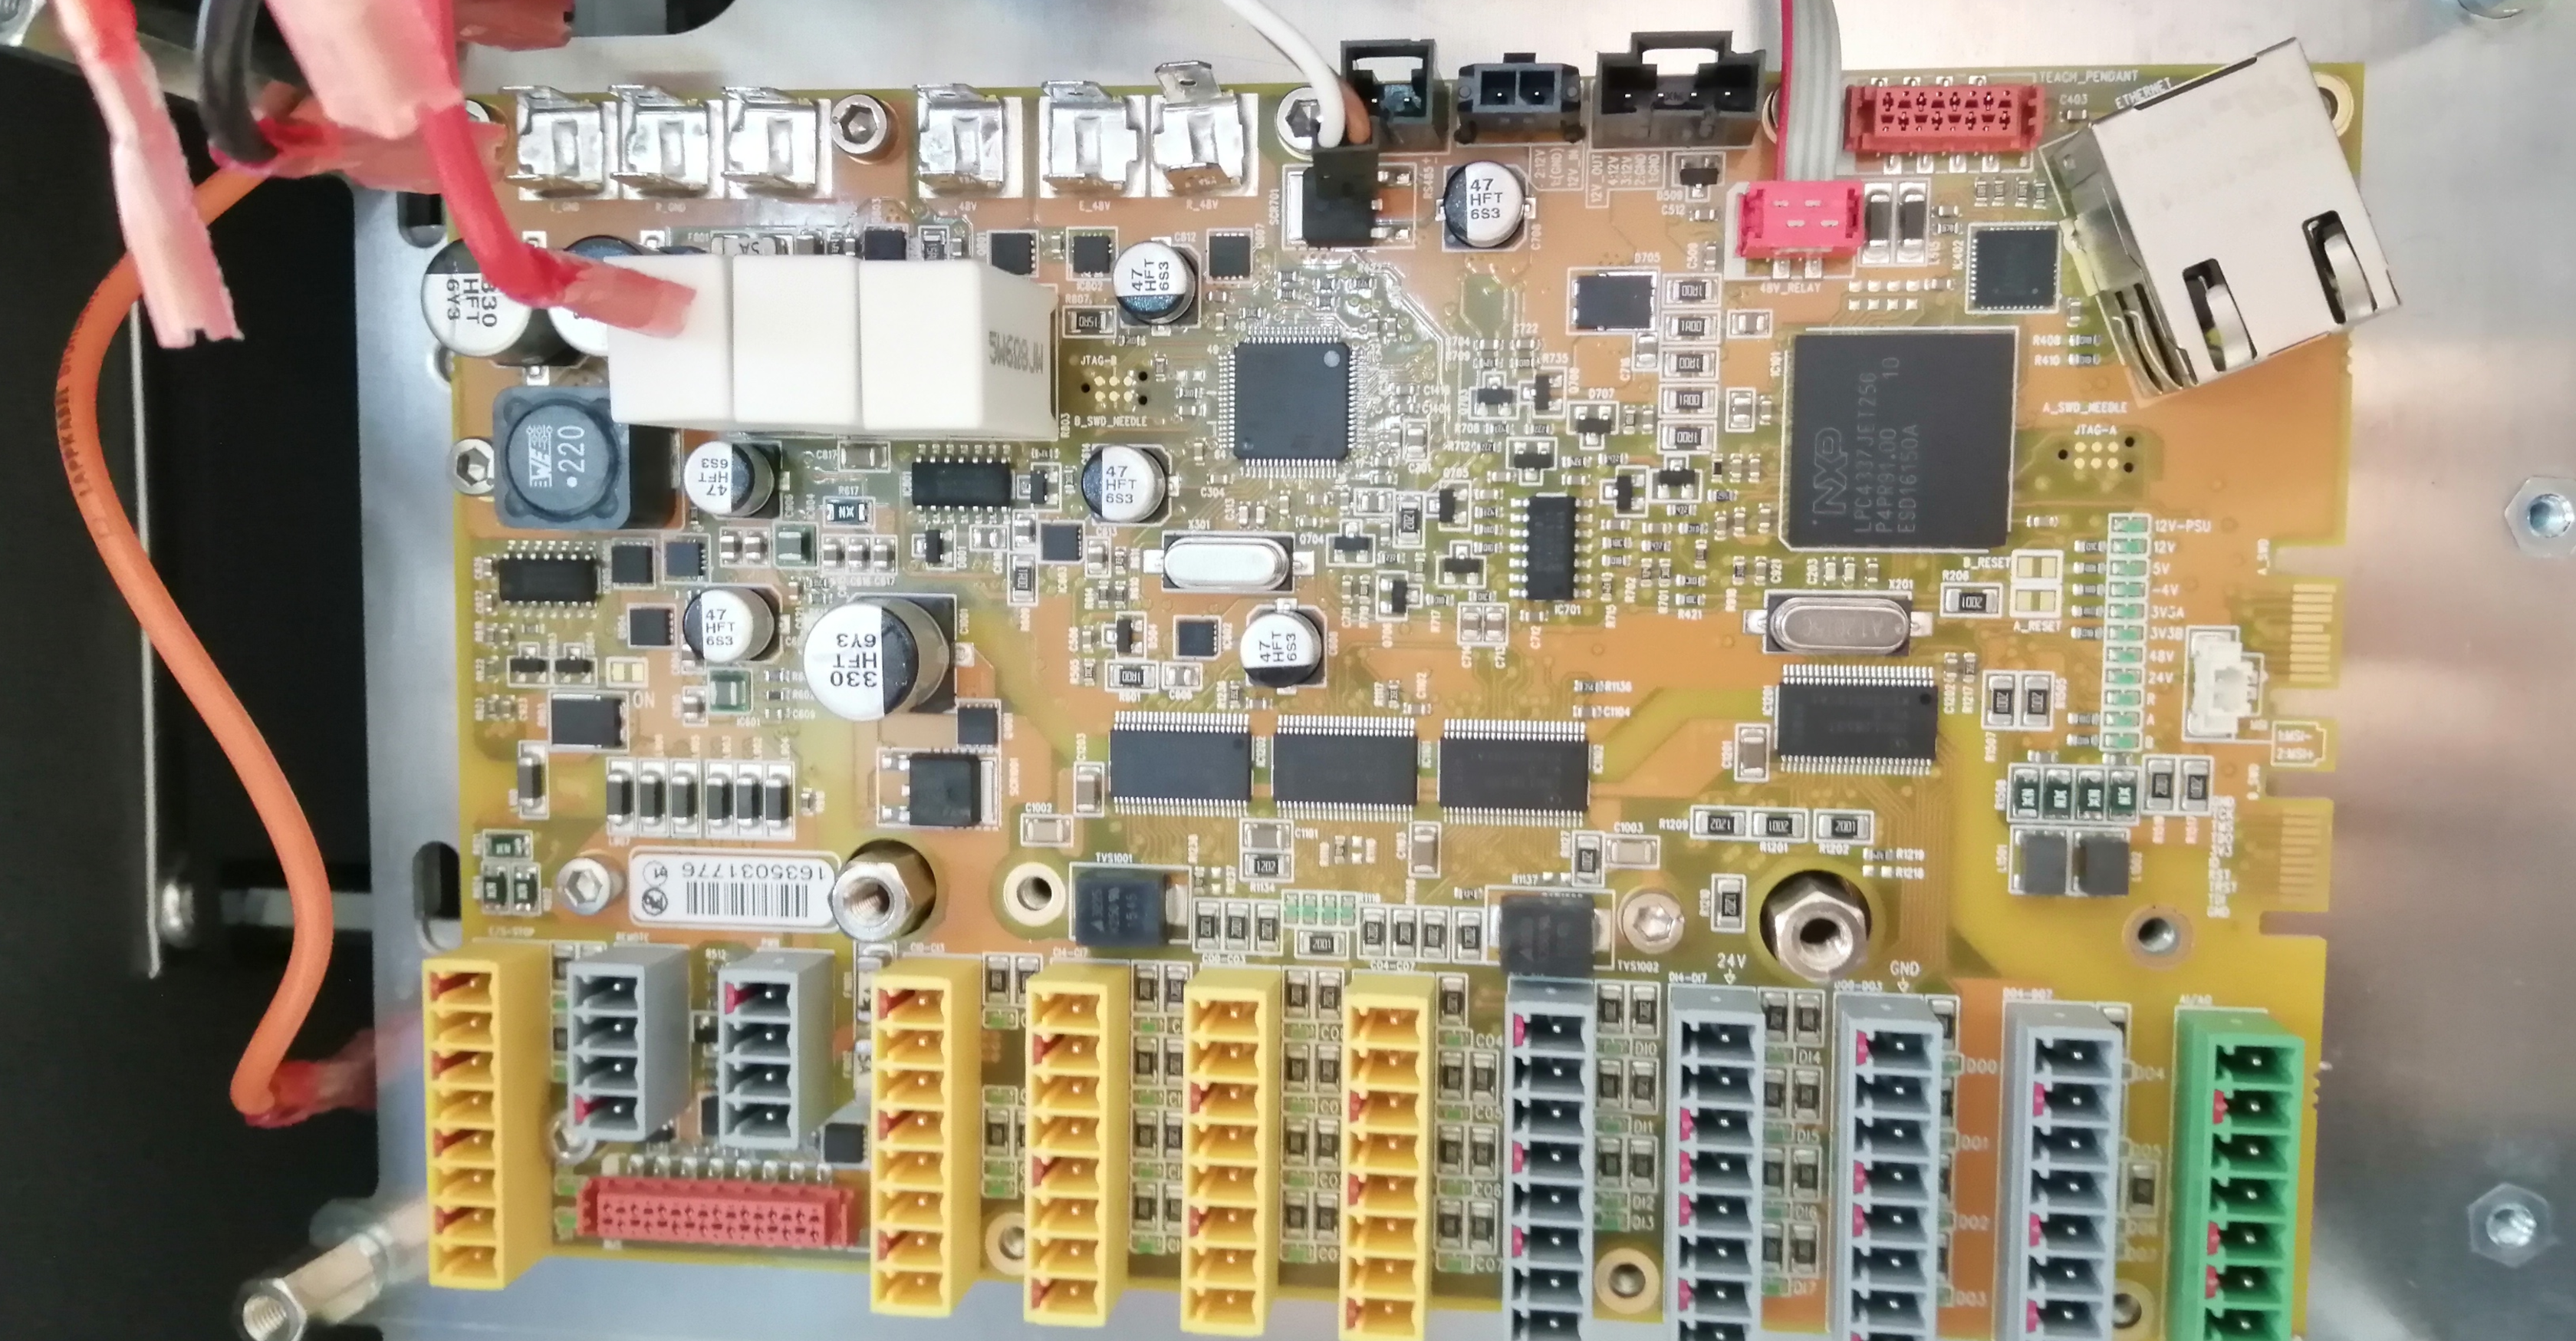
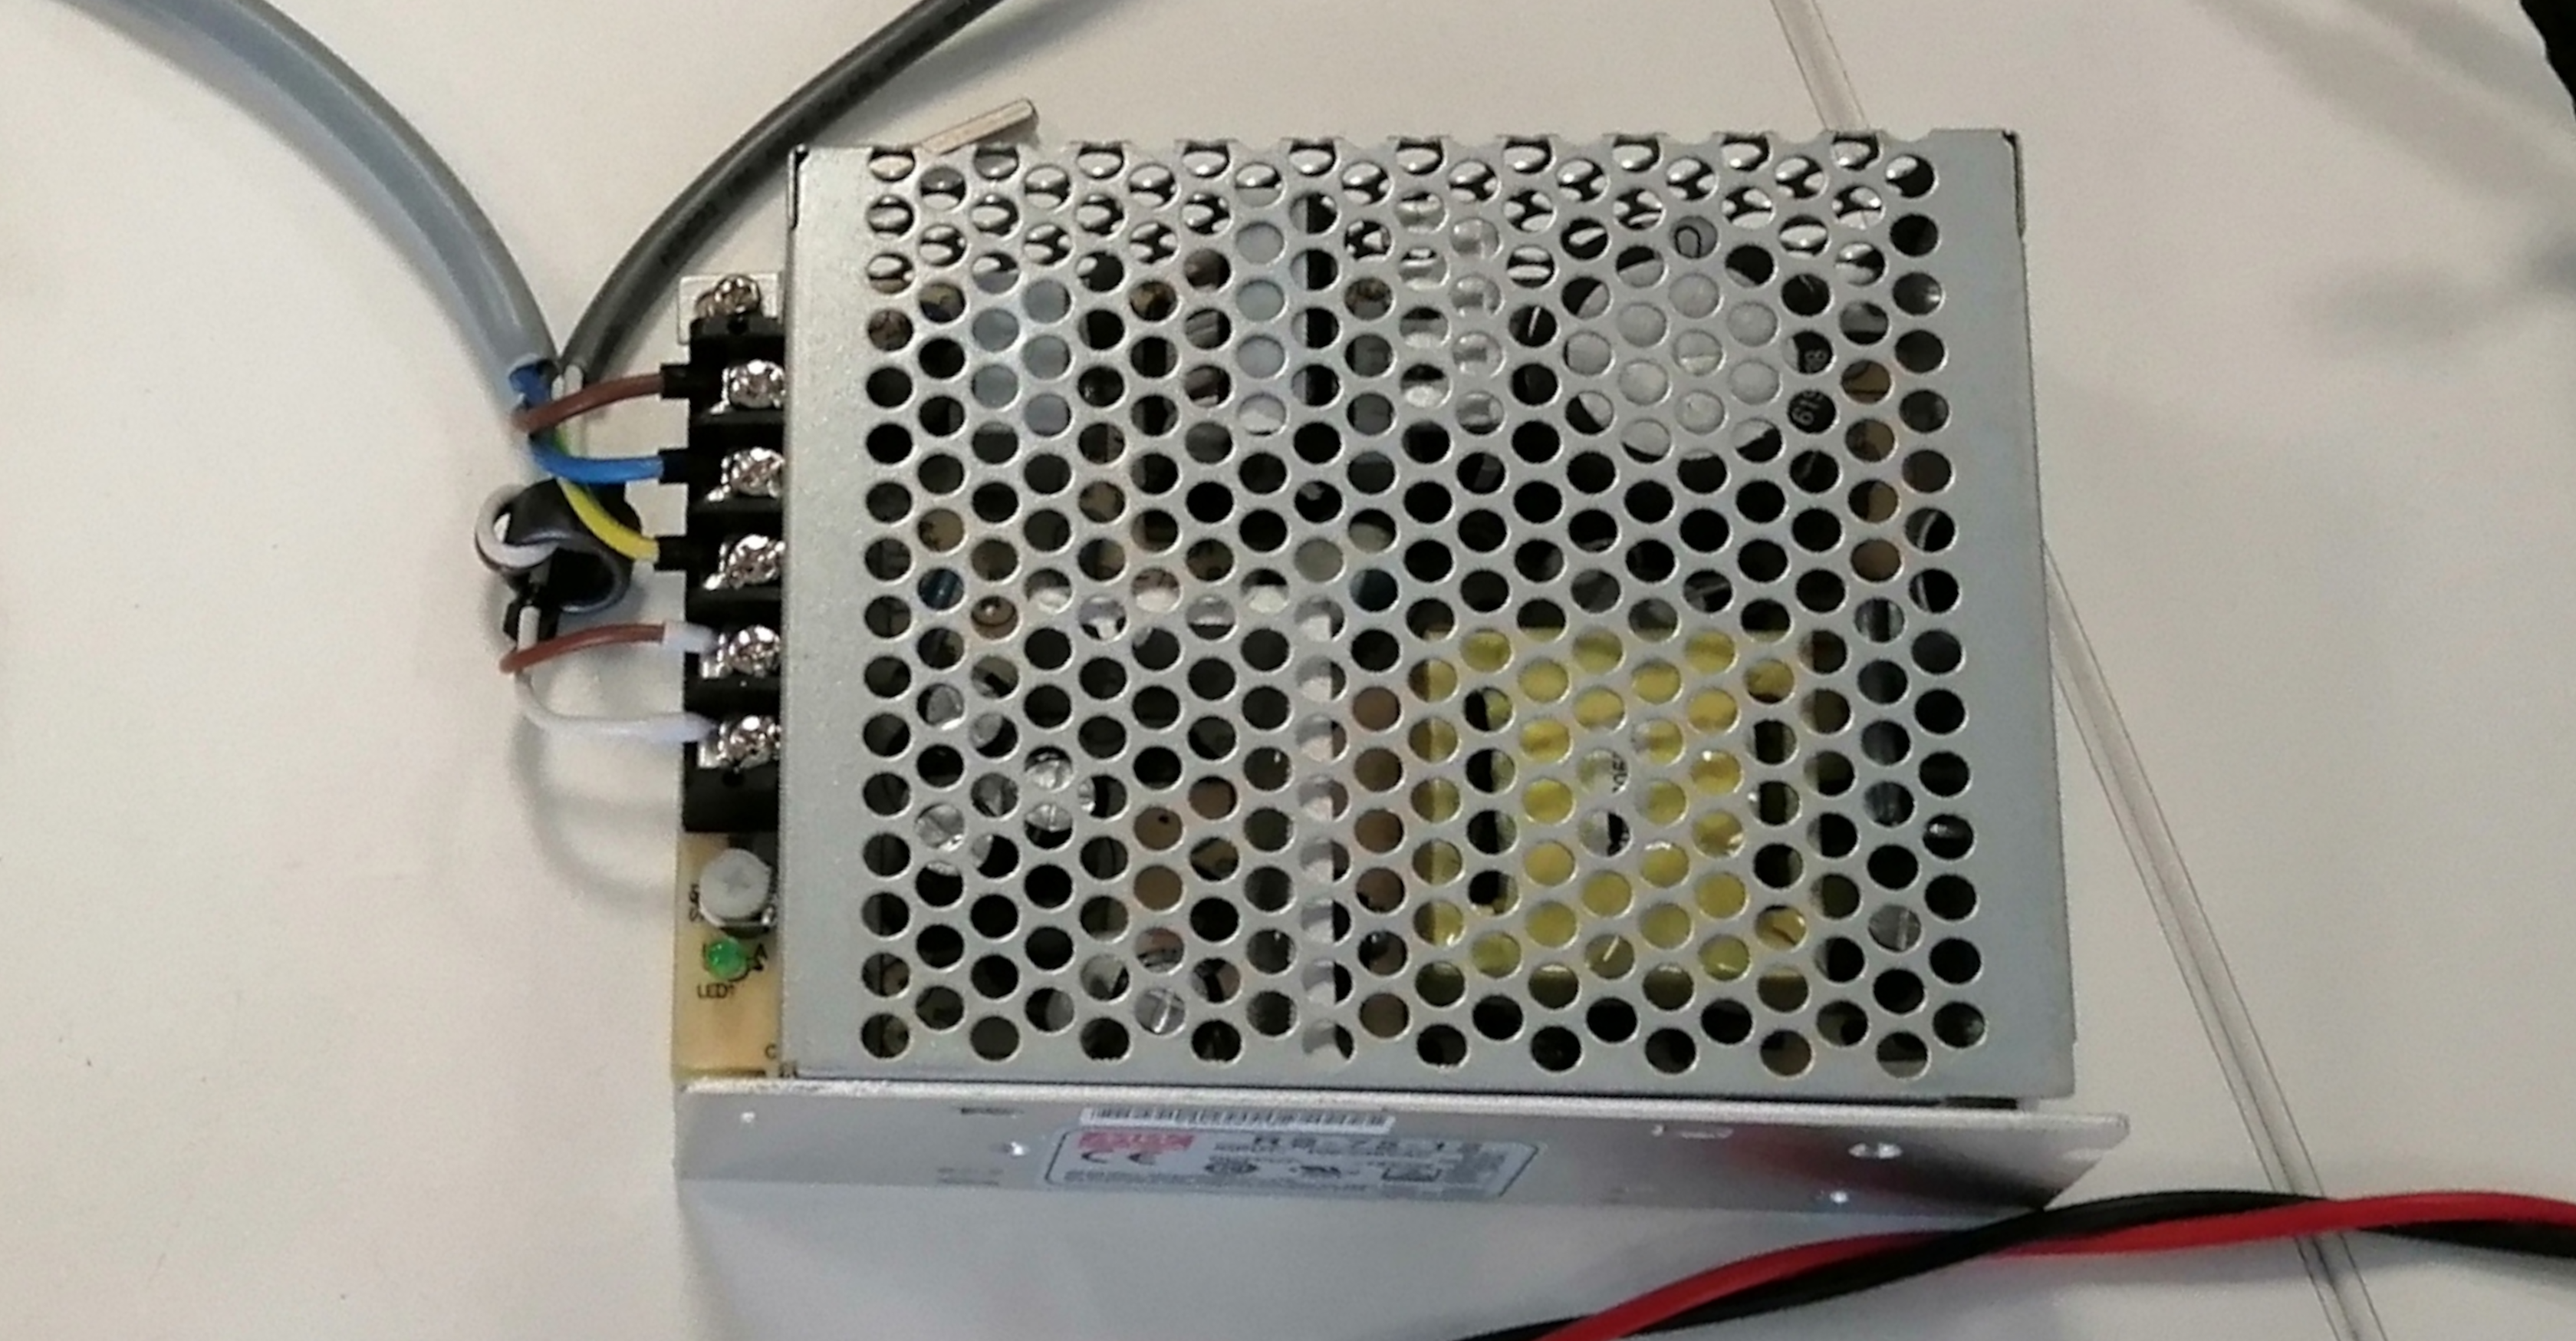
Remove the 8 faston terminals located on the upper left side, the 3 connectors carrying power and the 2 safety connectors, be careful when removing these.

Using an allen bit, remove the screws holding the board in place.
The handle screws are preventing us to remove the PSU, take them out with a torx bit
Carfeully pull the PSU assembly out, leading it towards you.
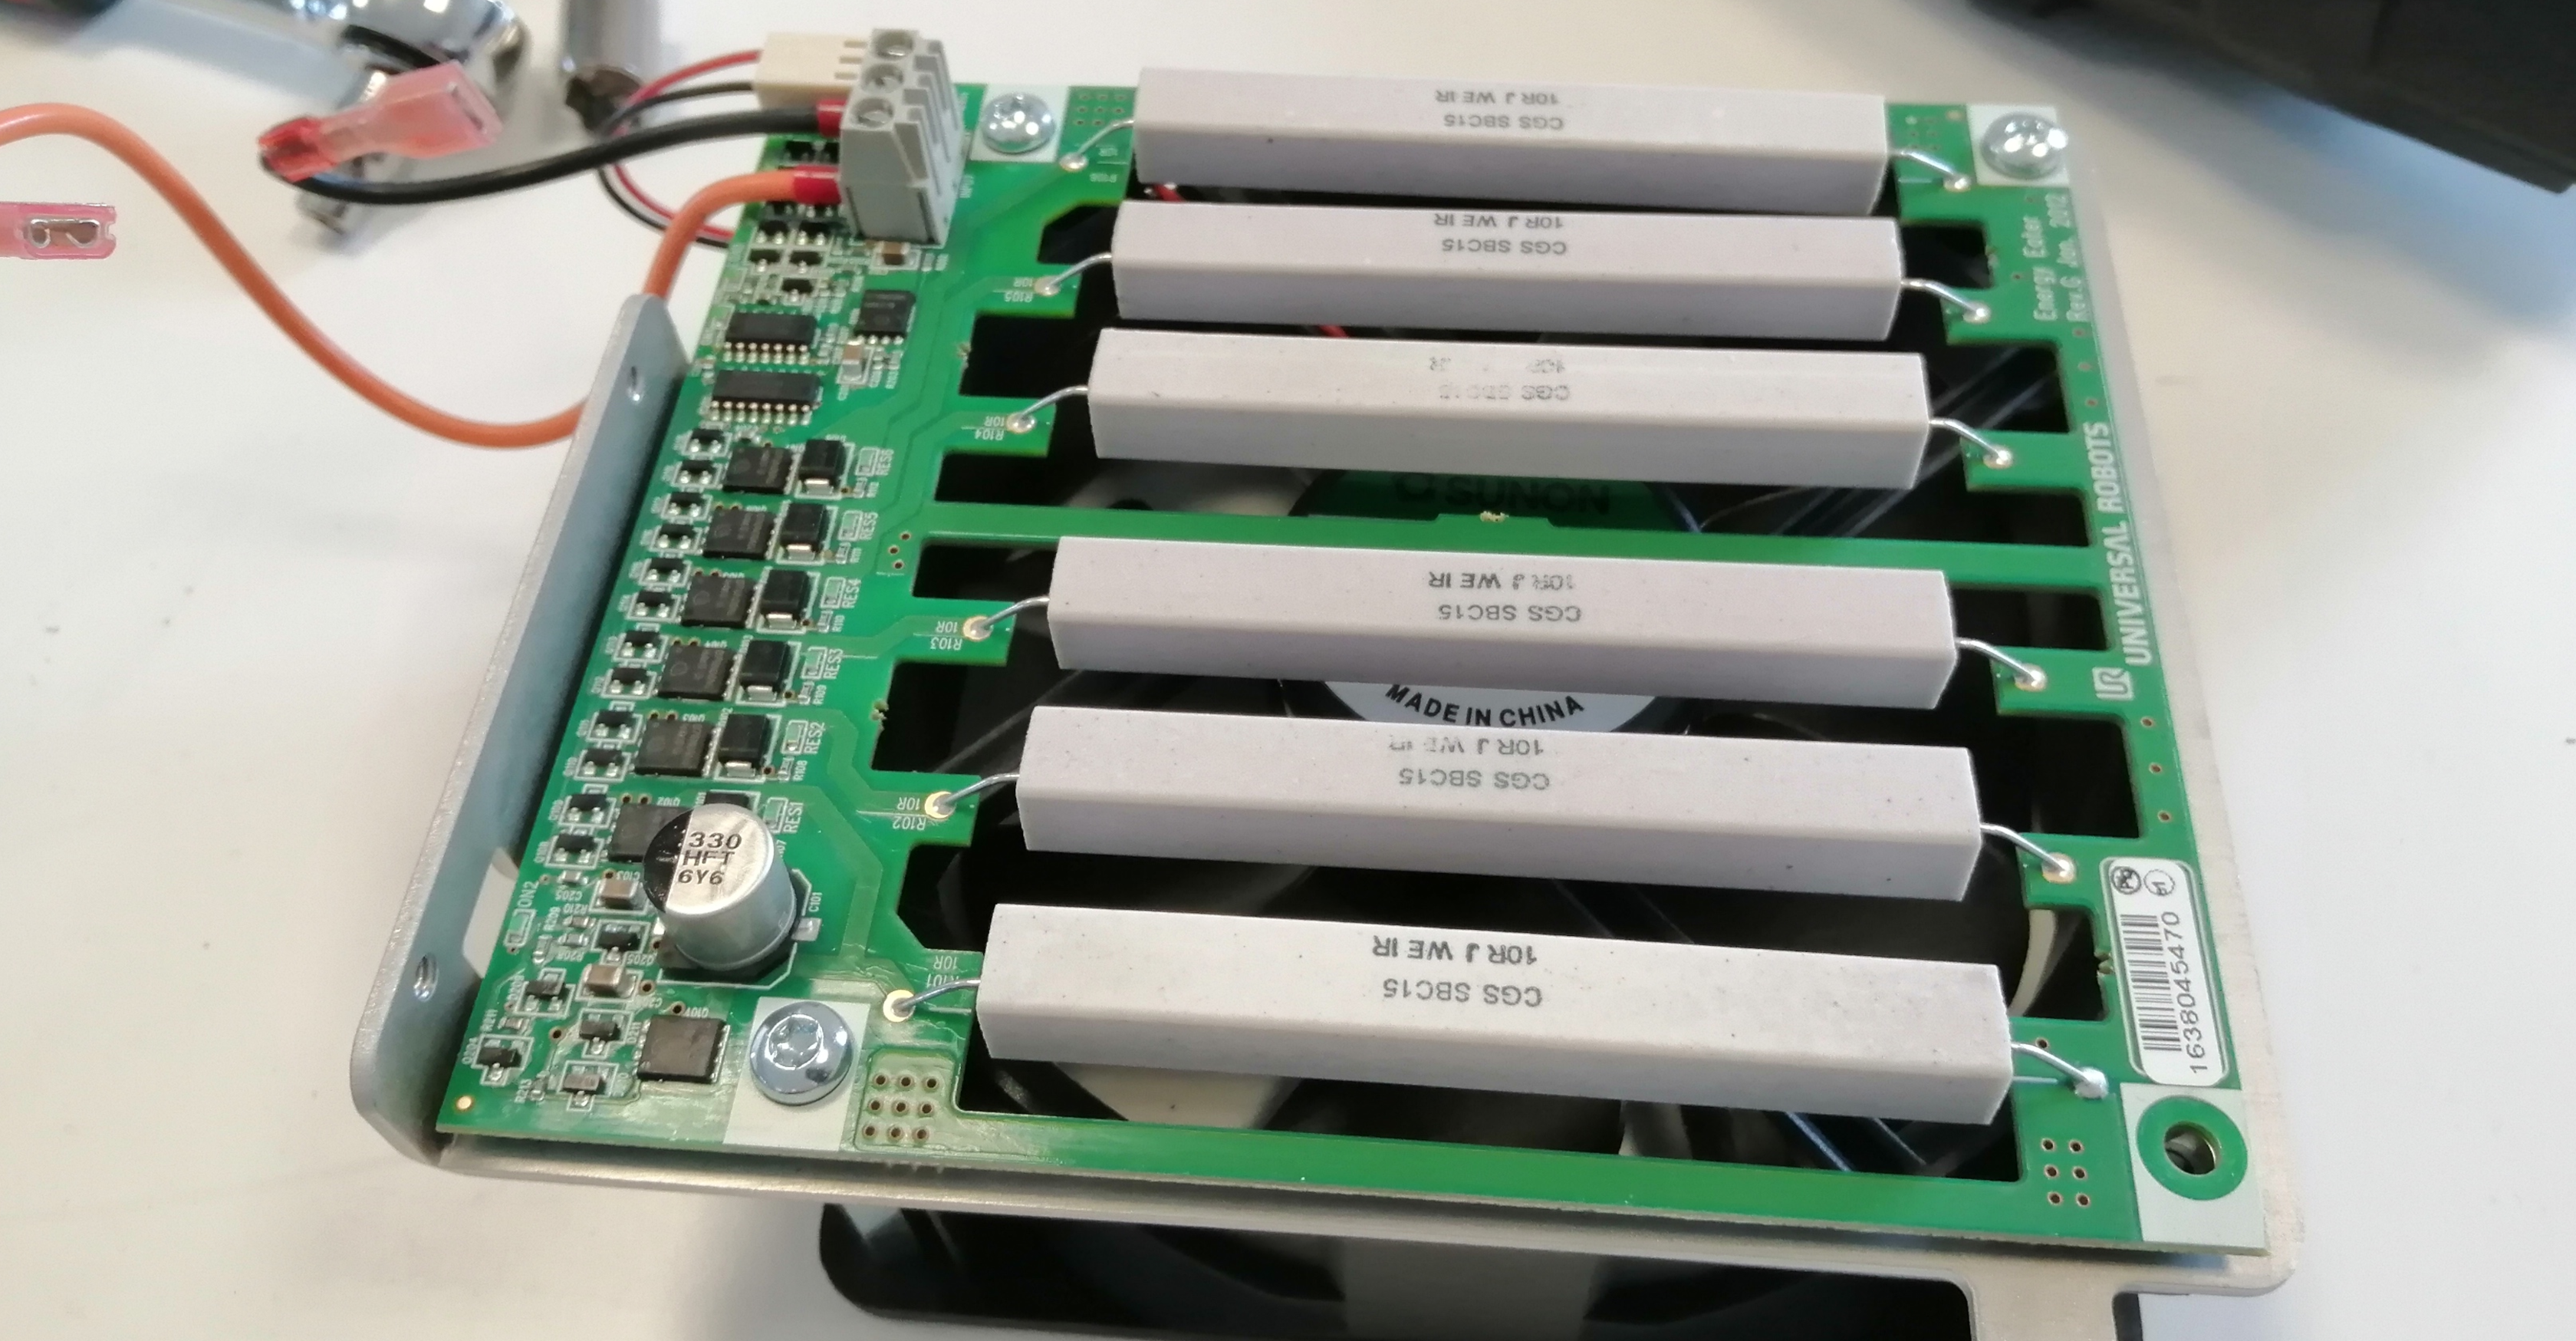
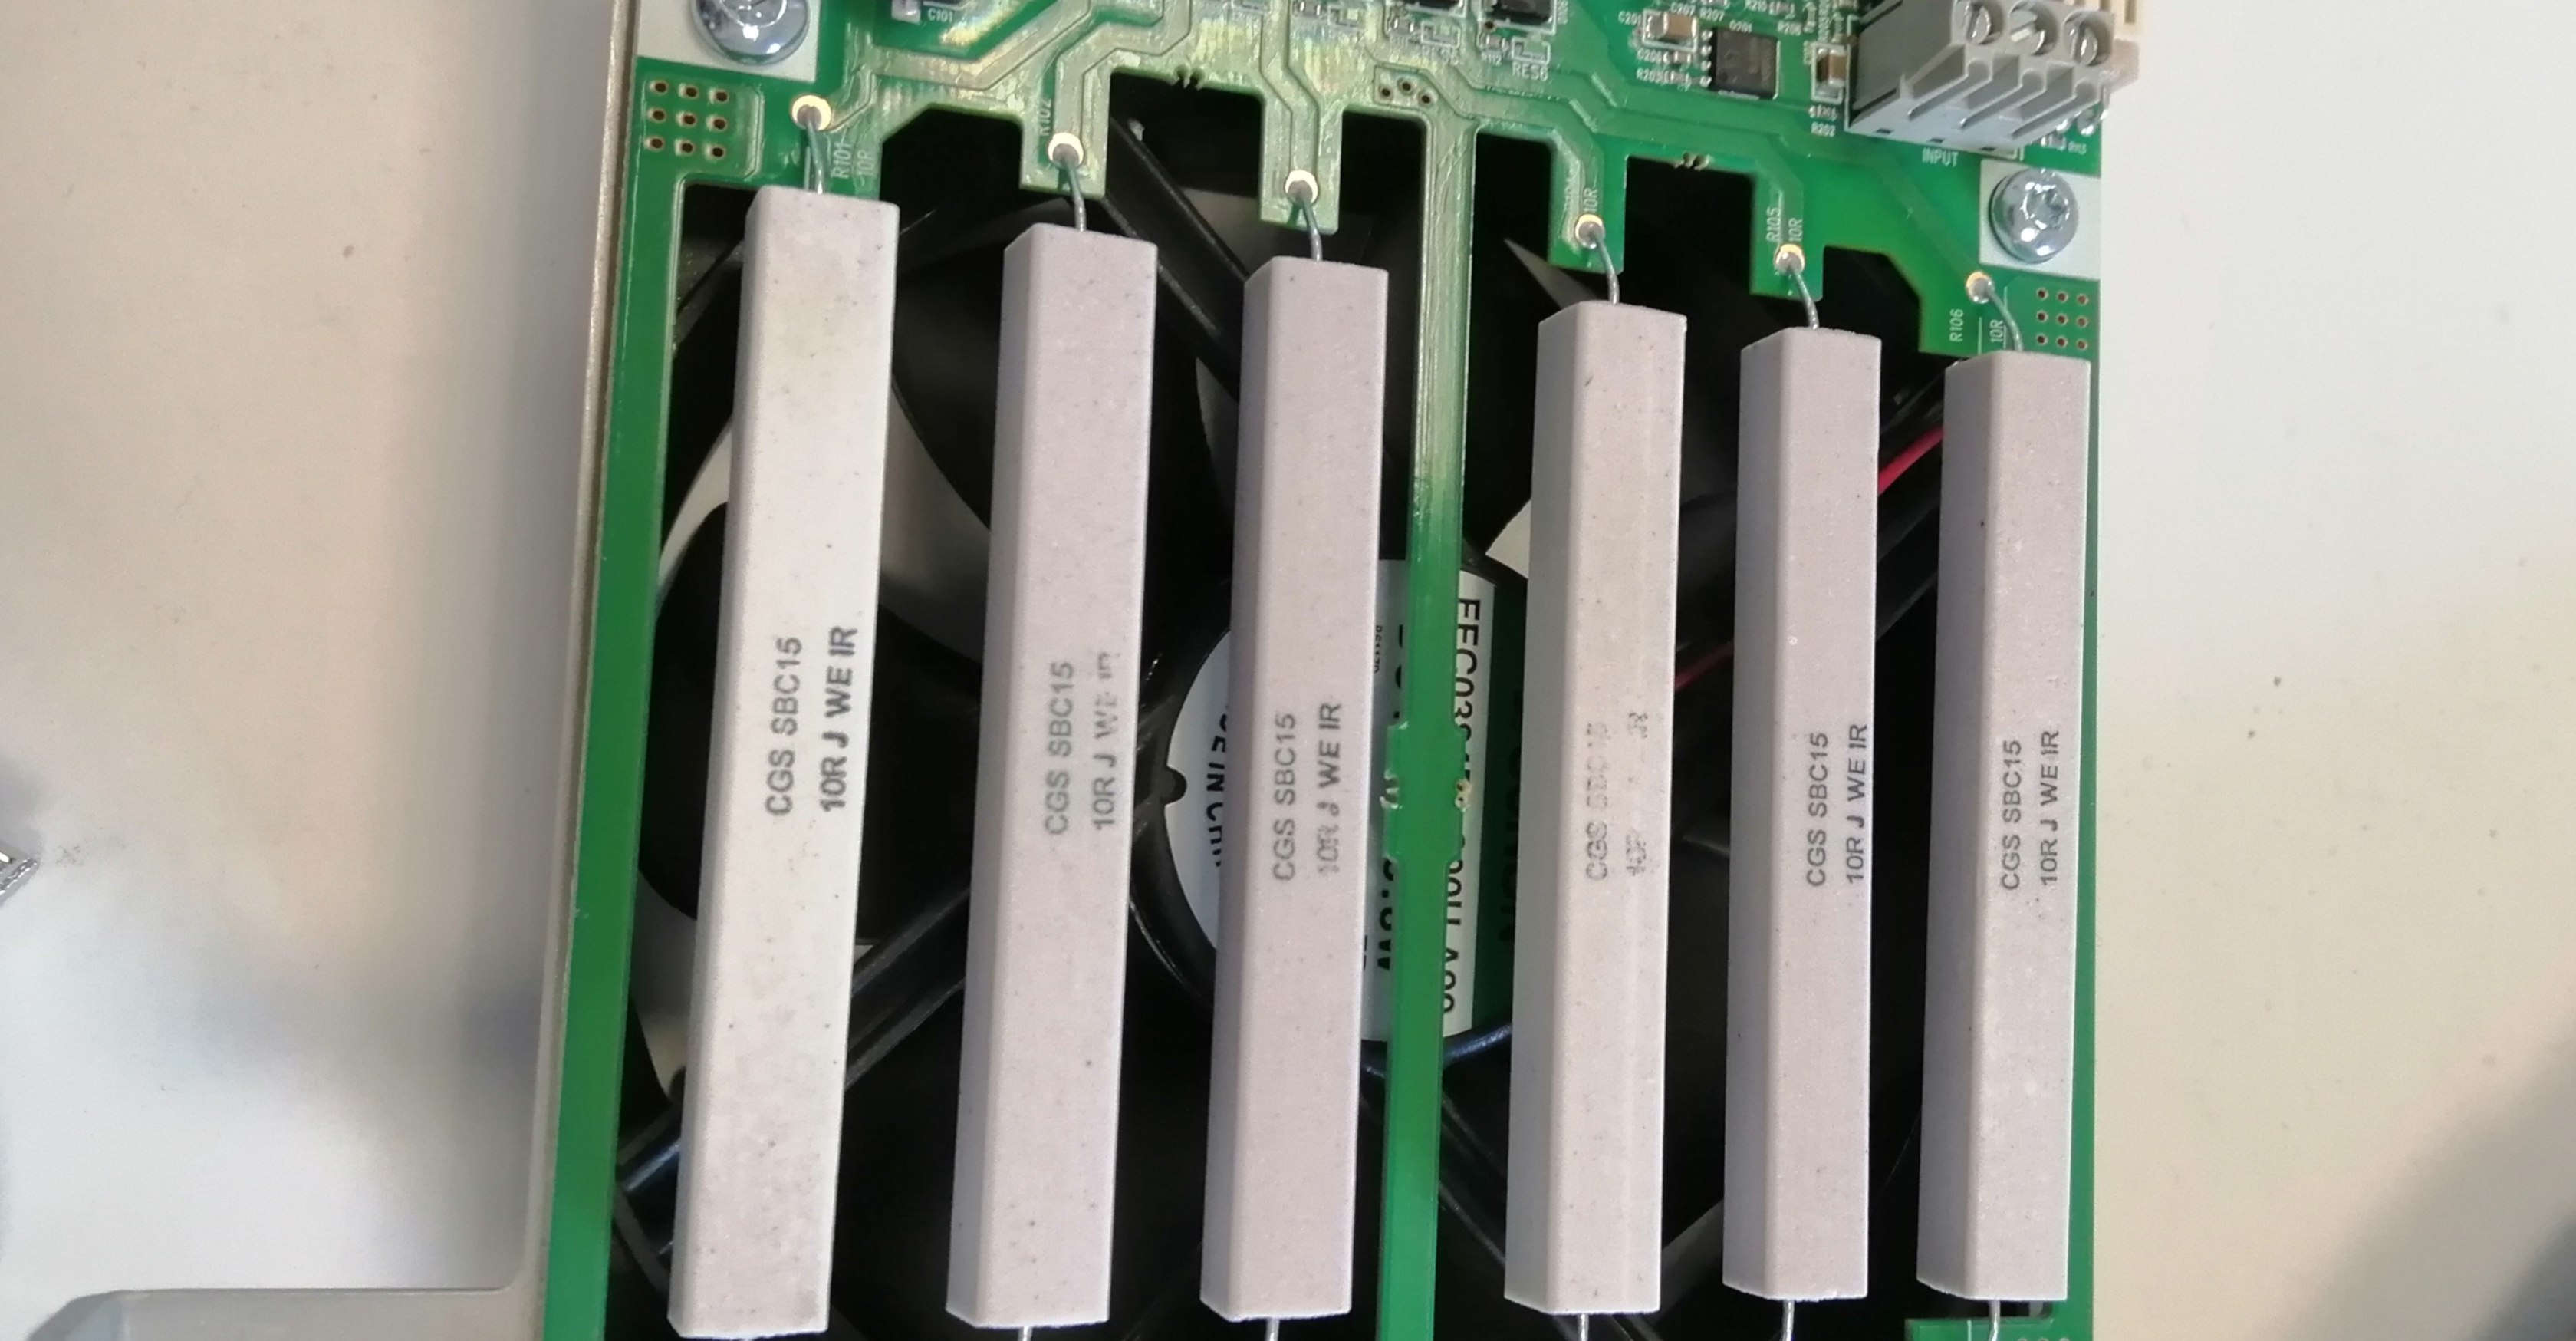
Uncsrew the fan holding the resistor board, be careful as it is very fragile. Since this component tends to heat a fair bit now is a good chance to check for signs of degradation
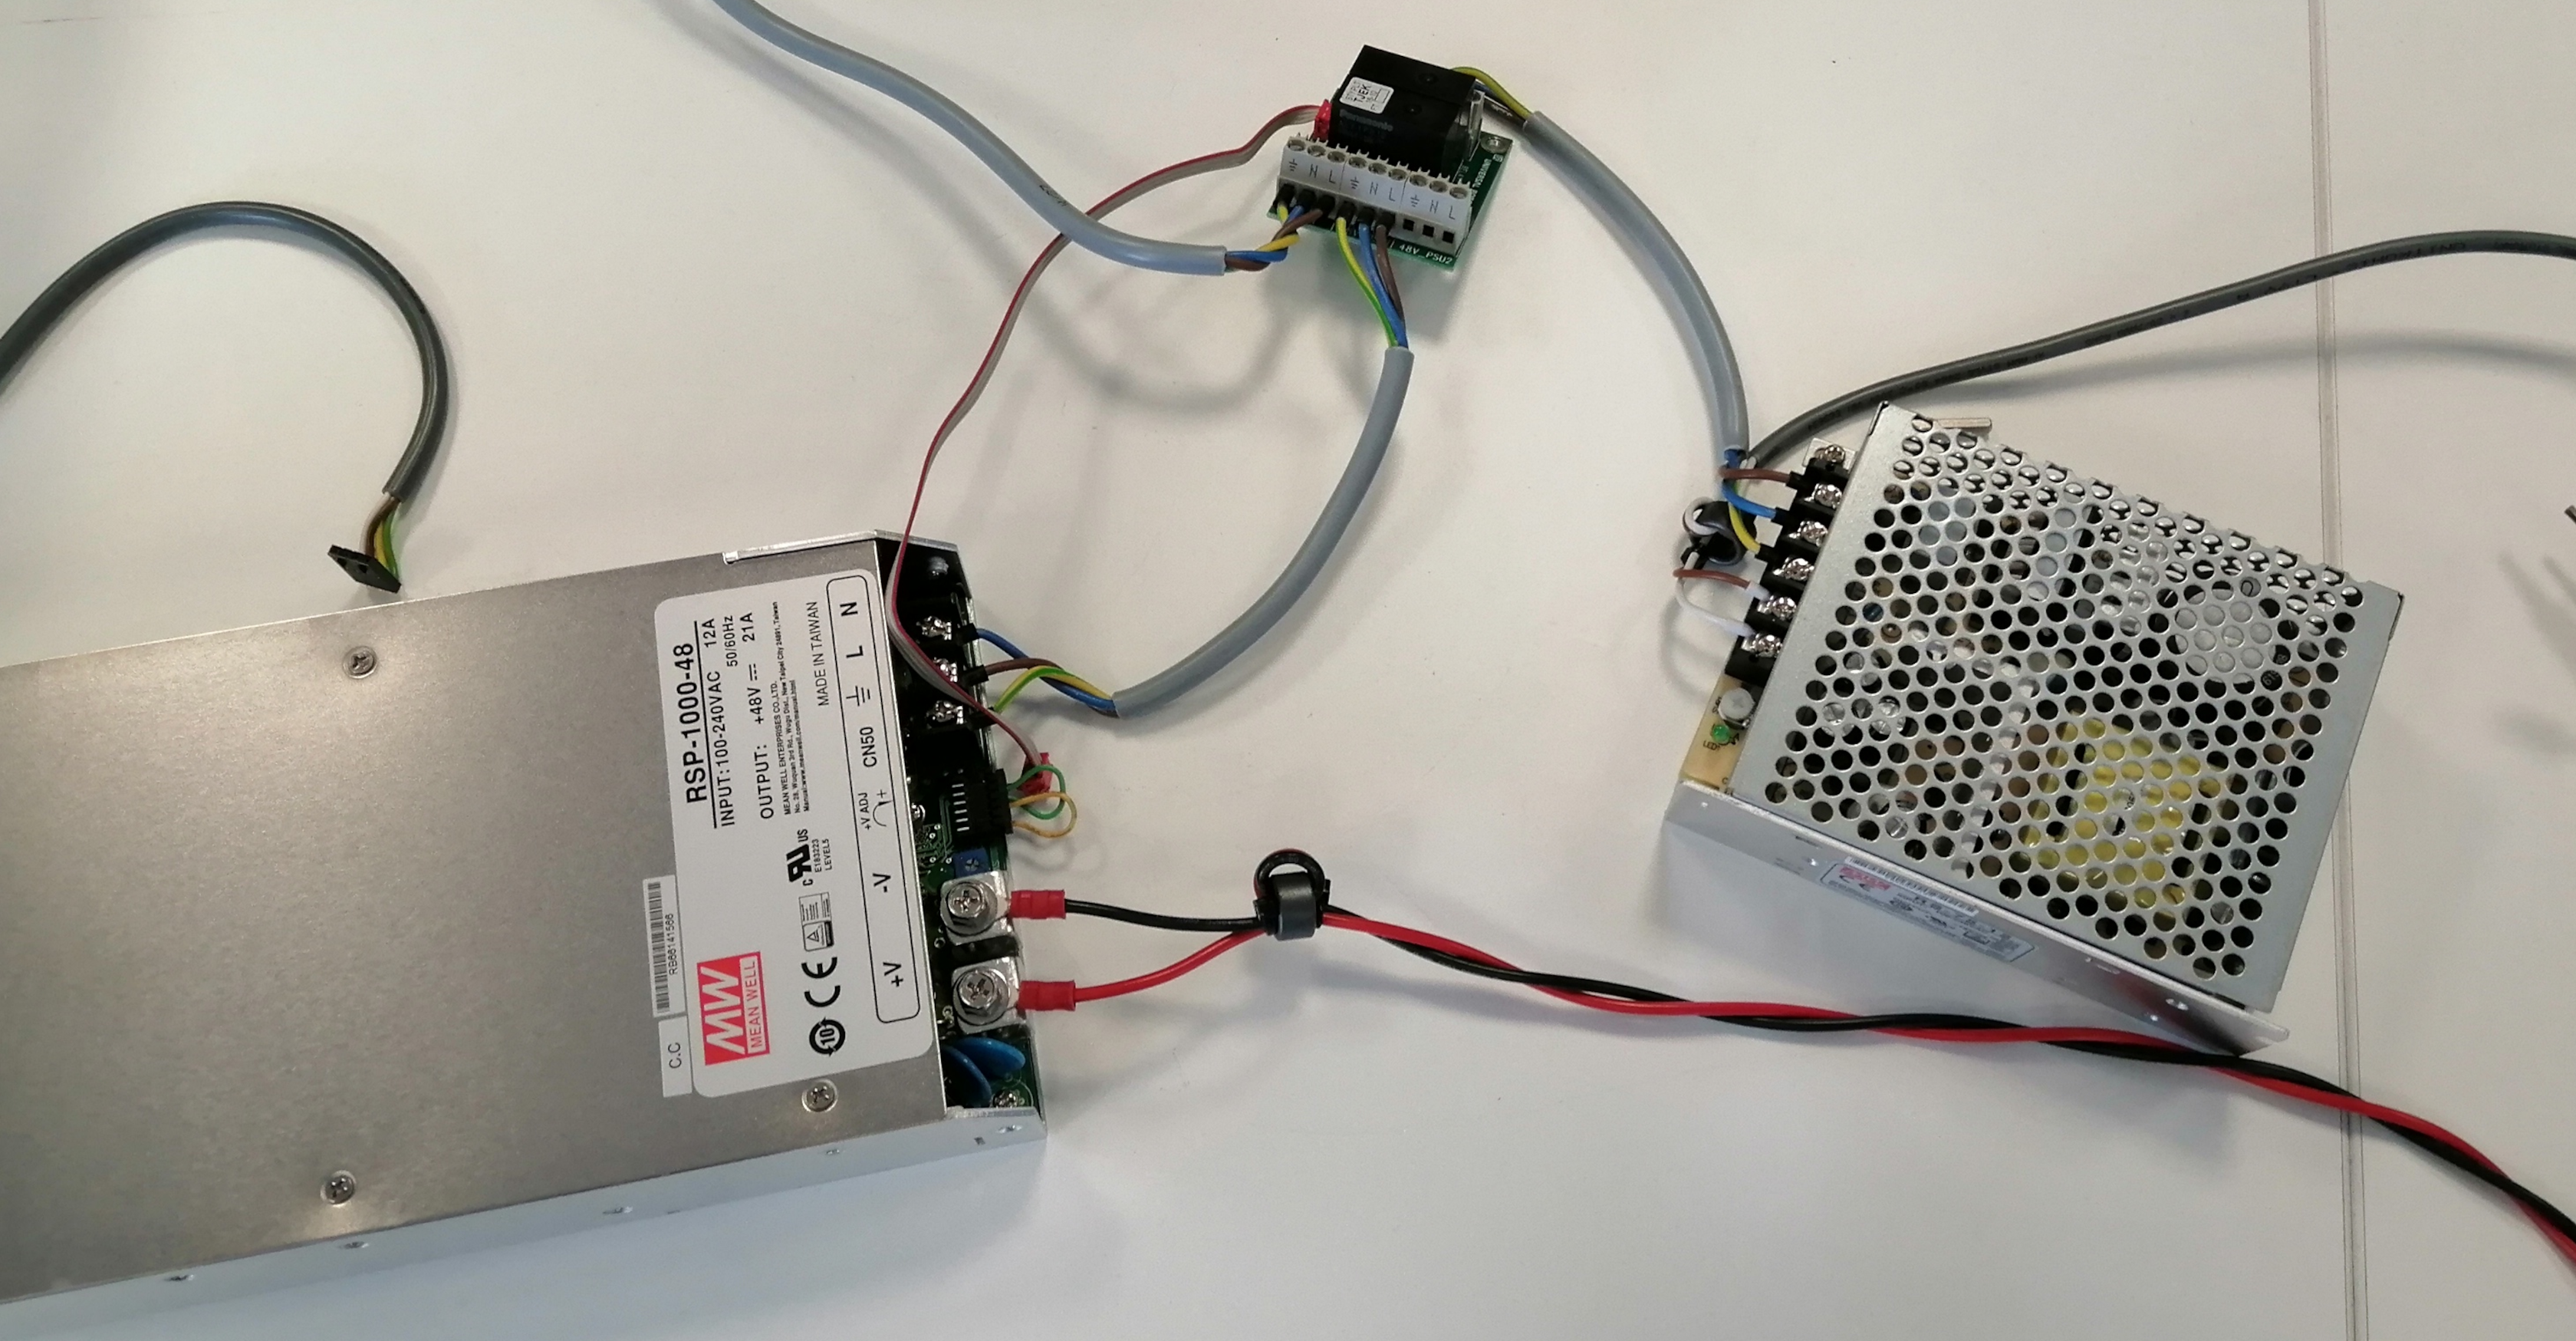
Remove both PSUs and the safety relay from the metal housing.
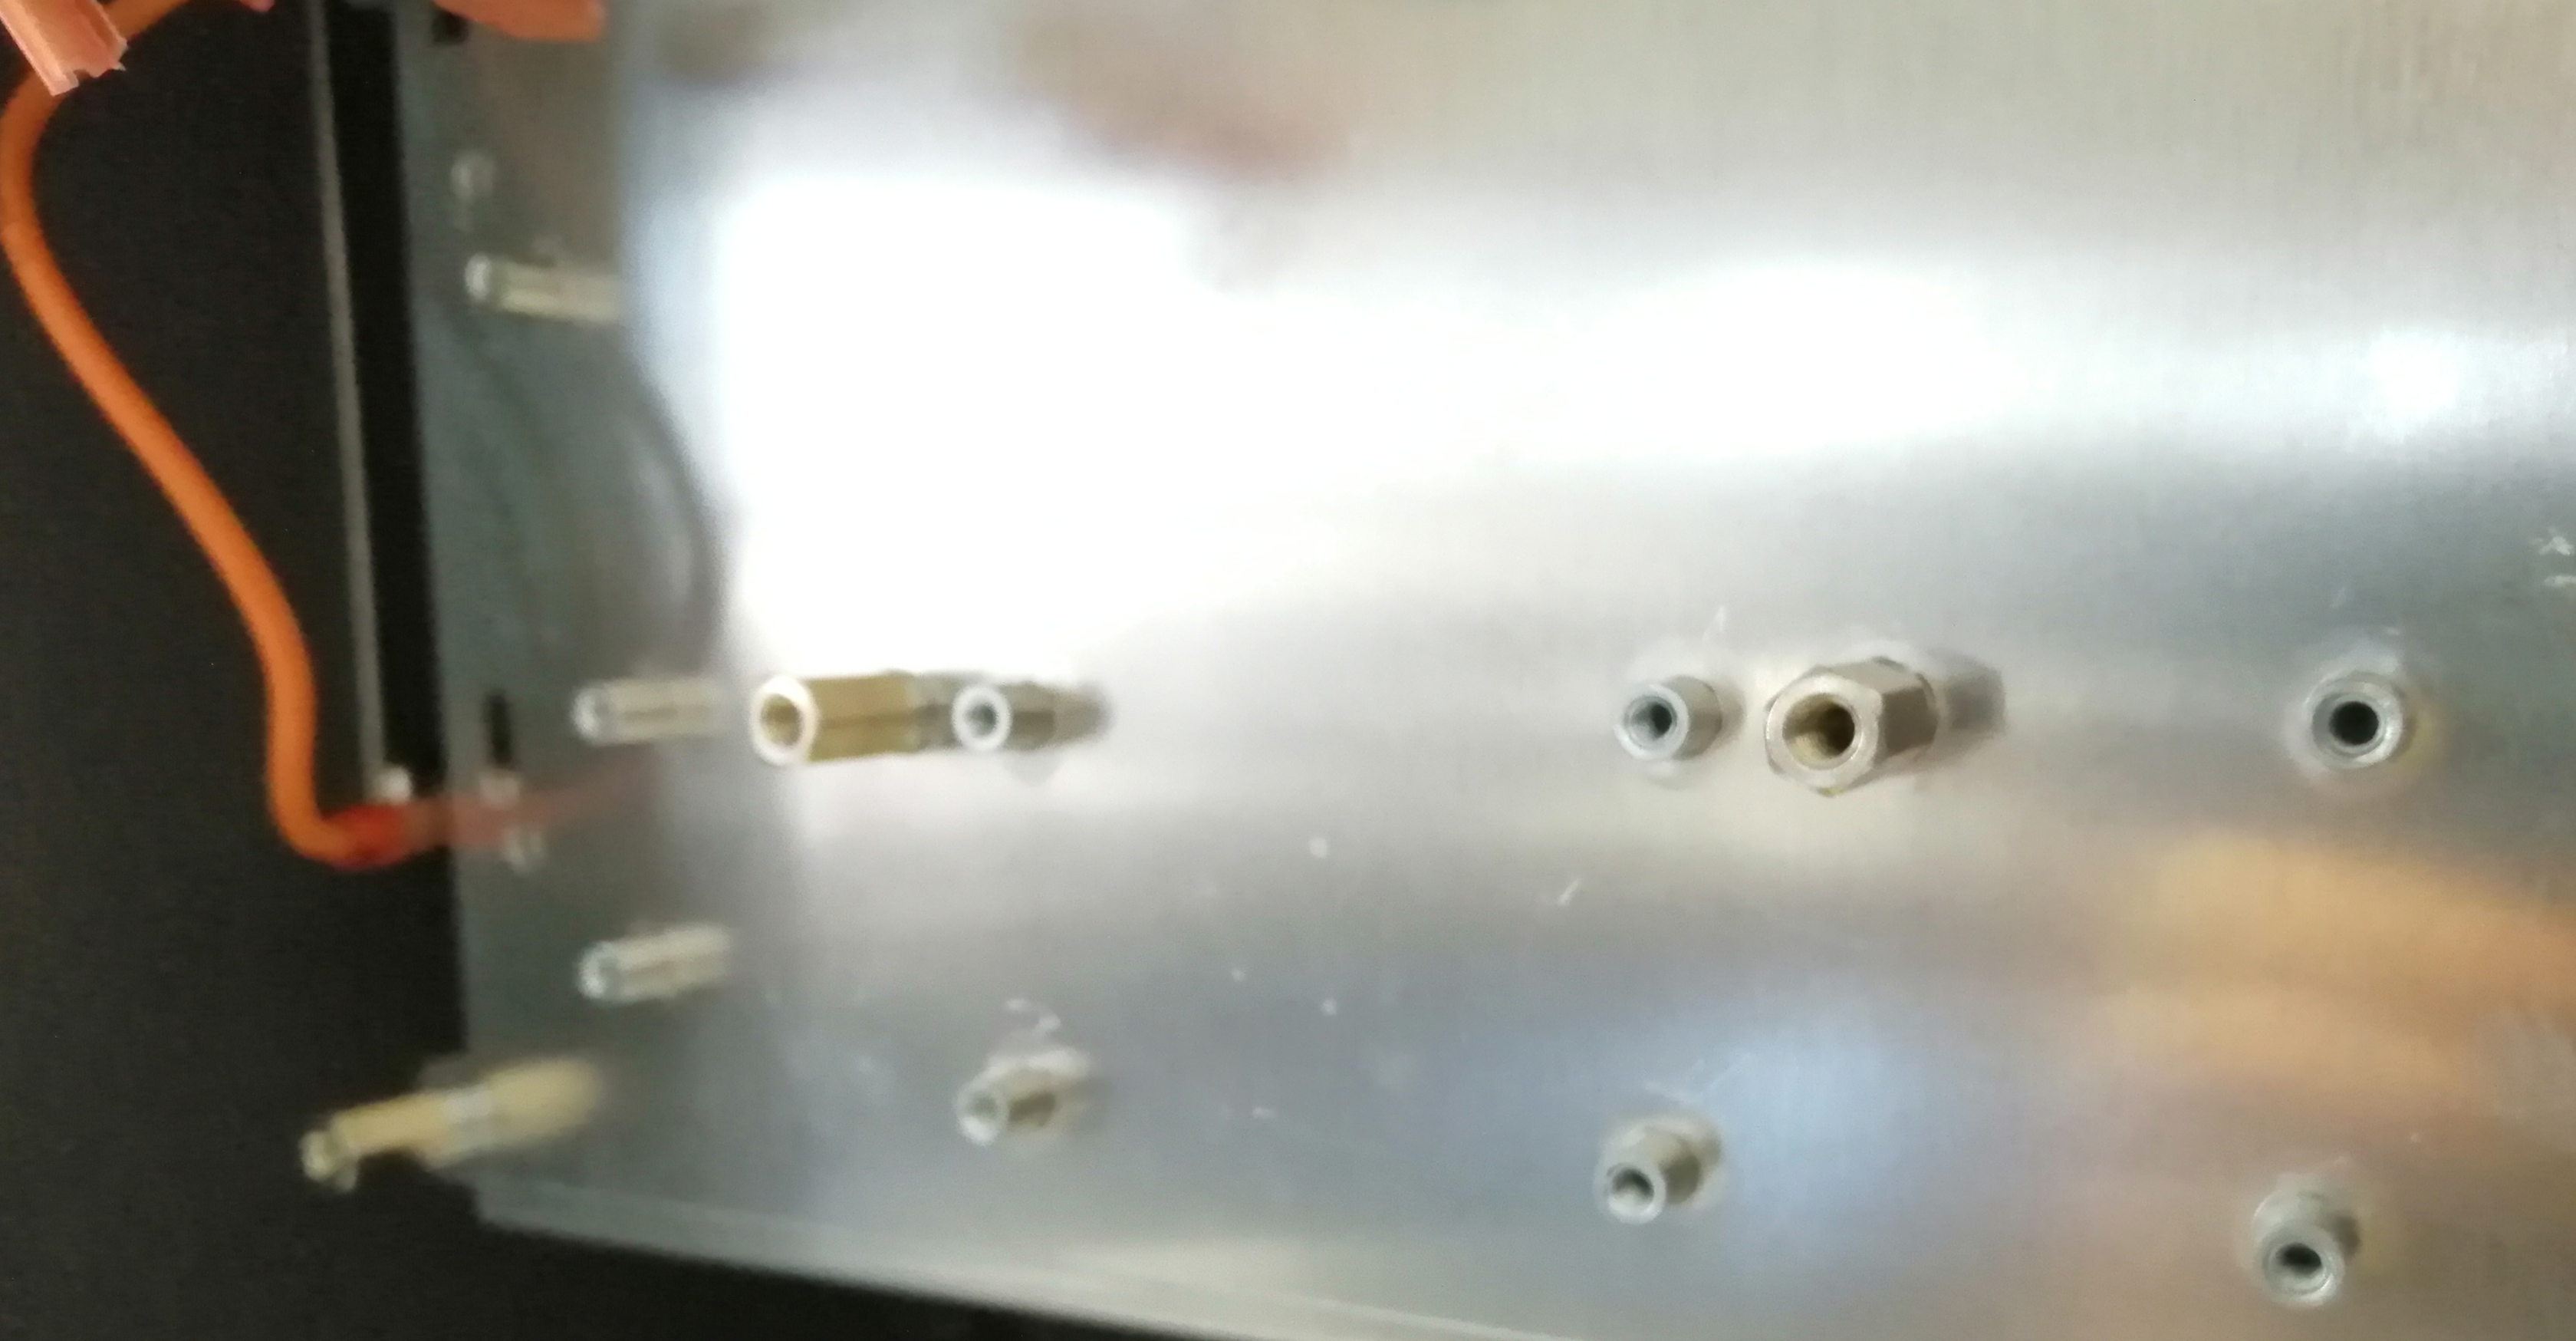
Remove the power connector by unscrewing both torx screws on the side and remove the nut holding the ground wire with a socket wrench.
With this final step the dissasembly of the controller is concluded
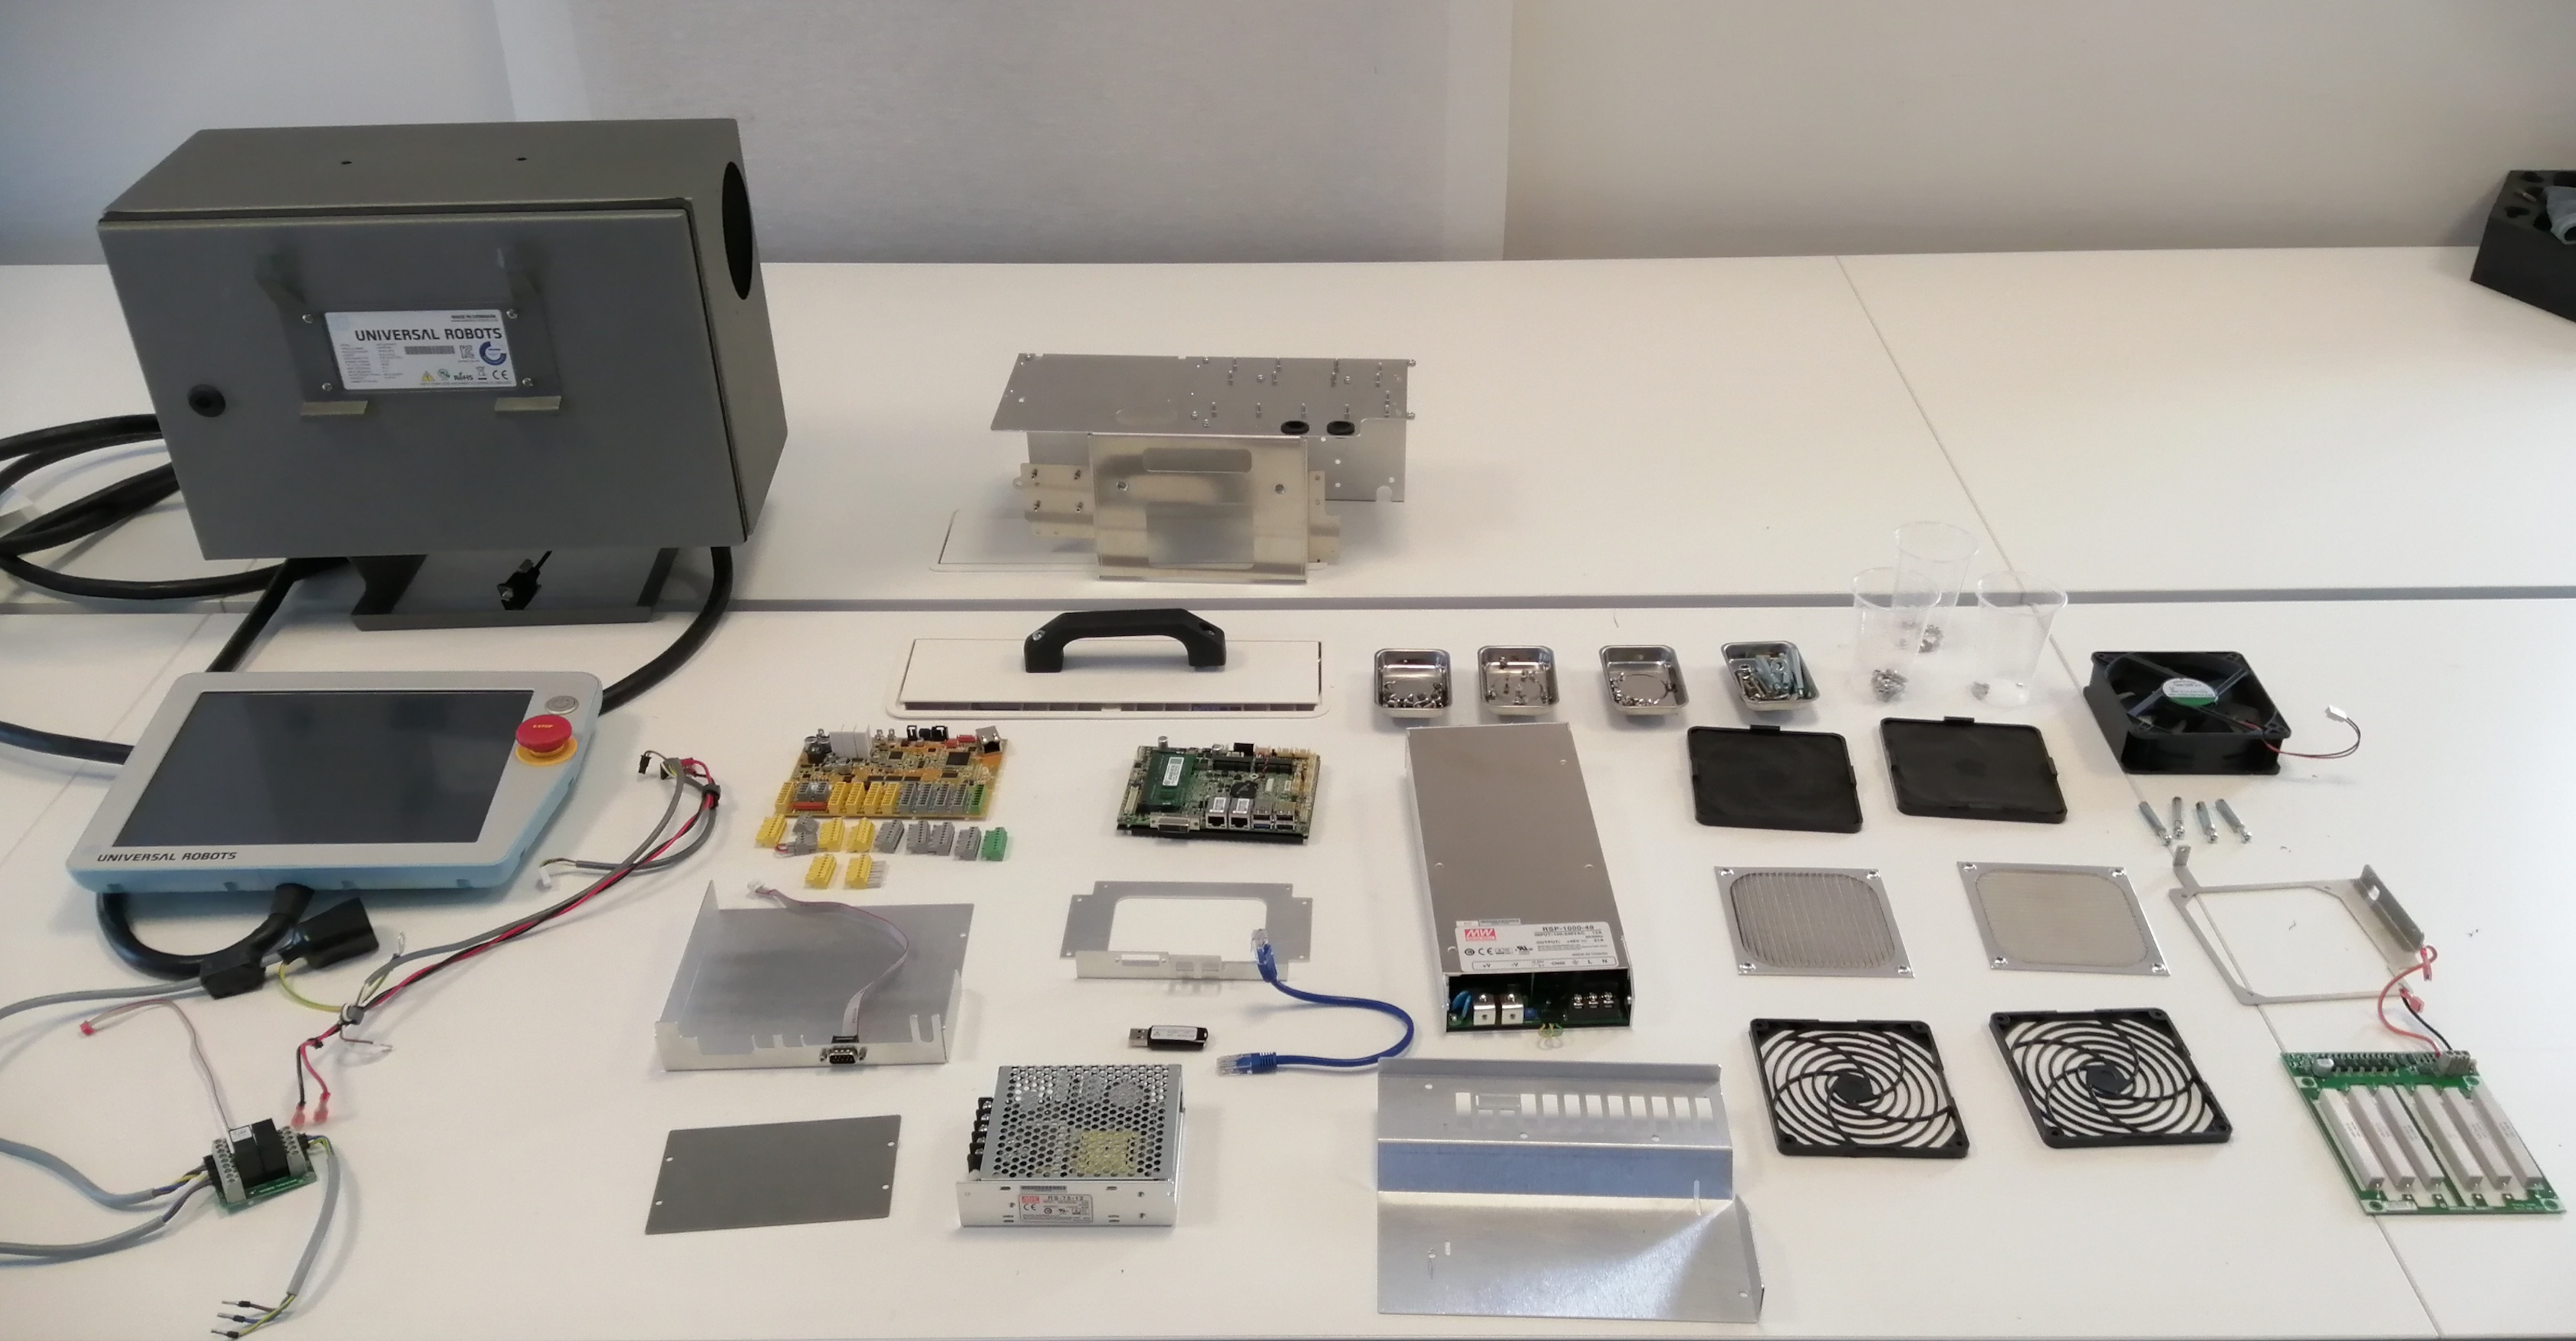
With this part concluded, we can go ahead and list all the components inside the body.

Main On-board computer

Safety board with I/O and power distribution.
Resistive load safety board.
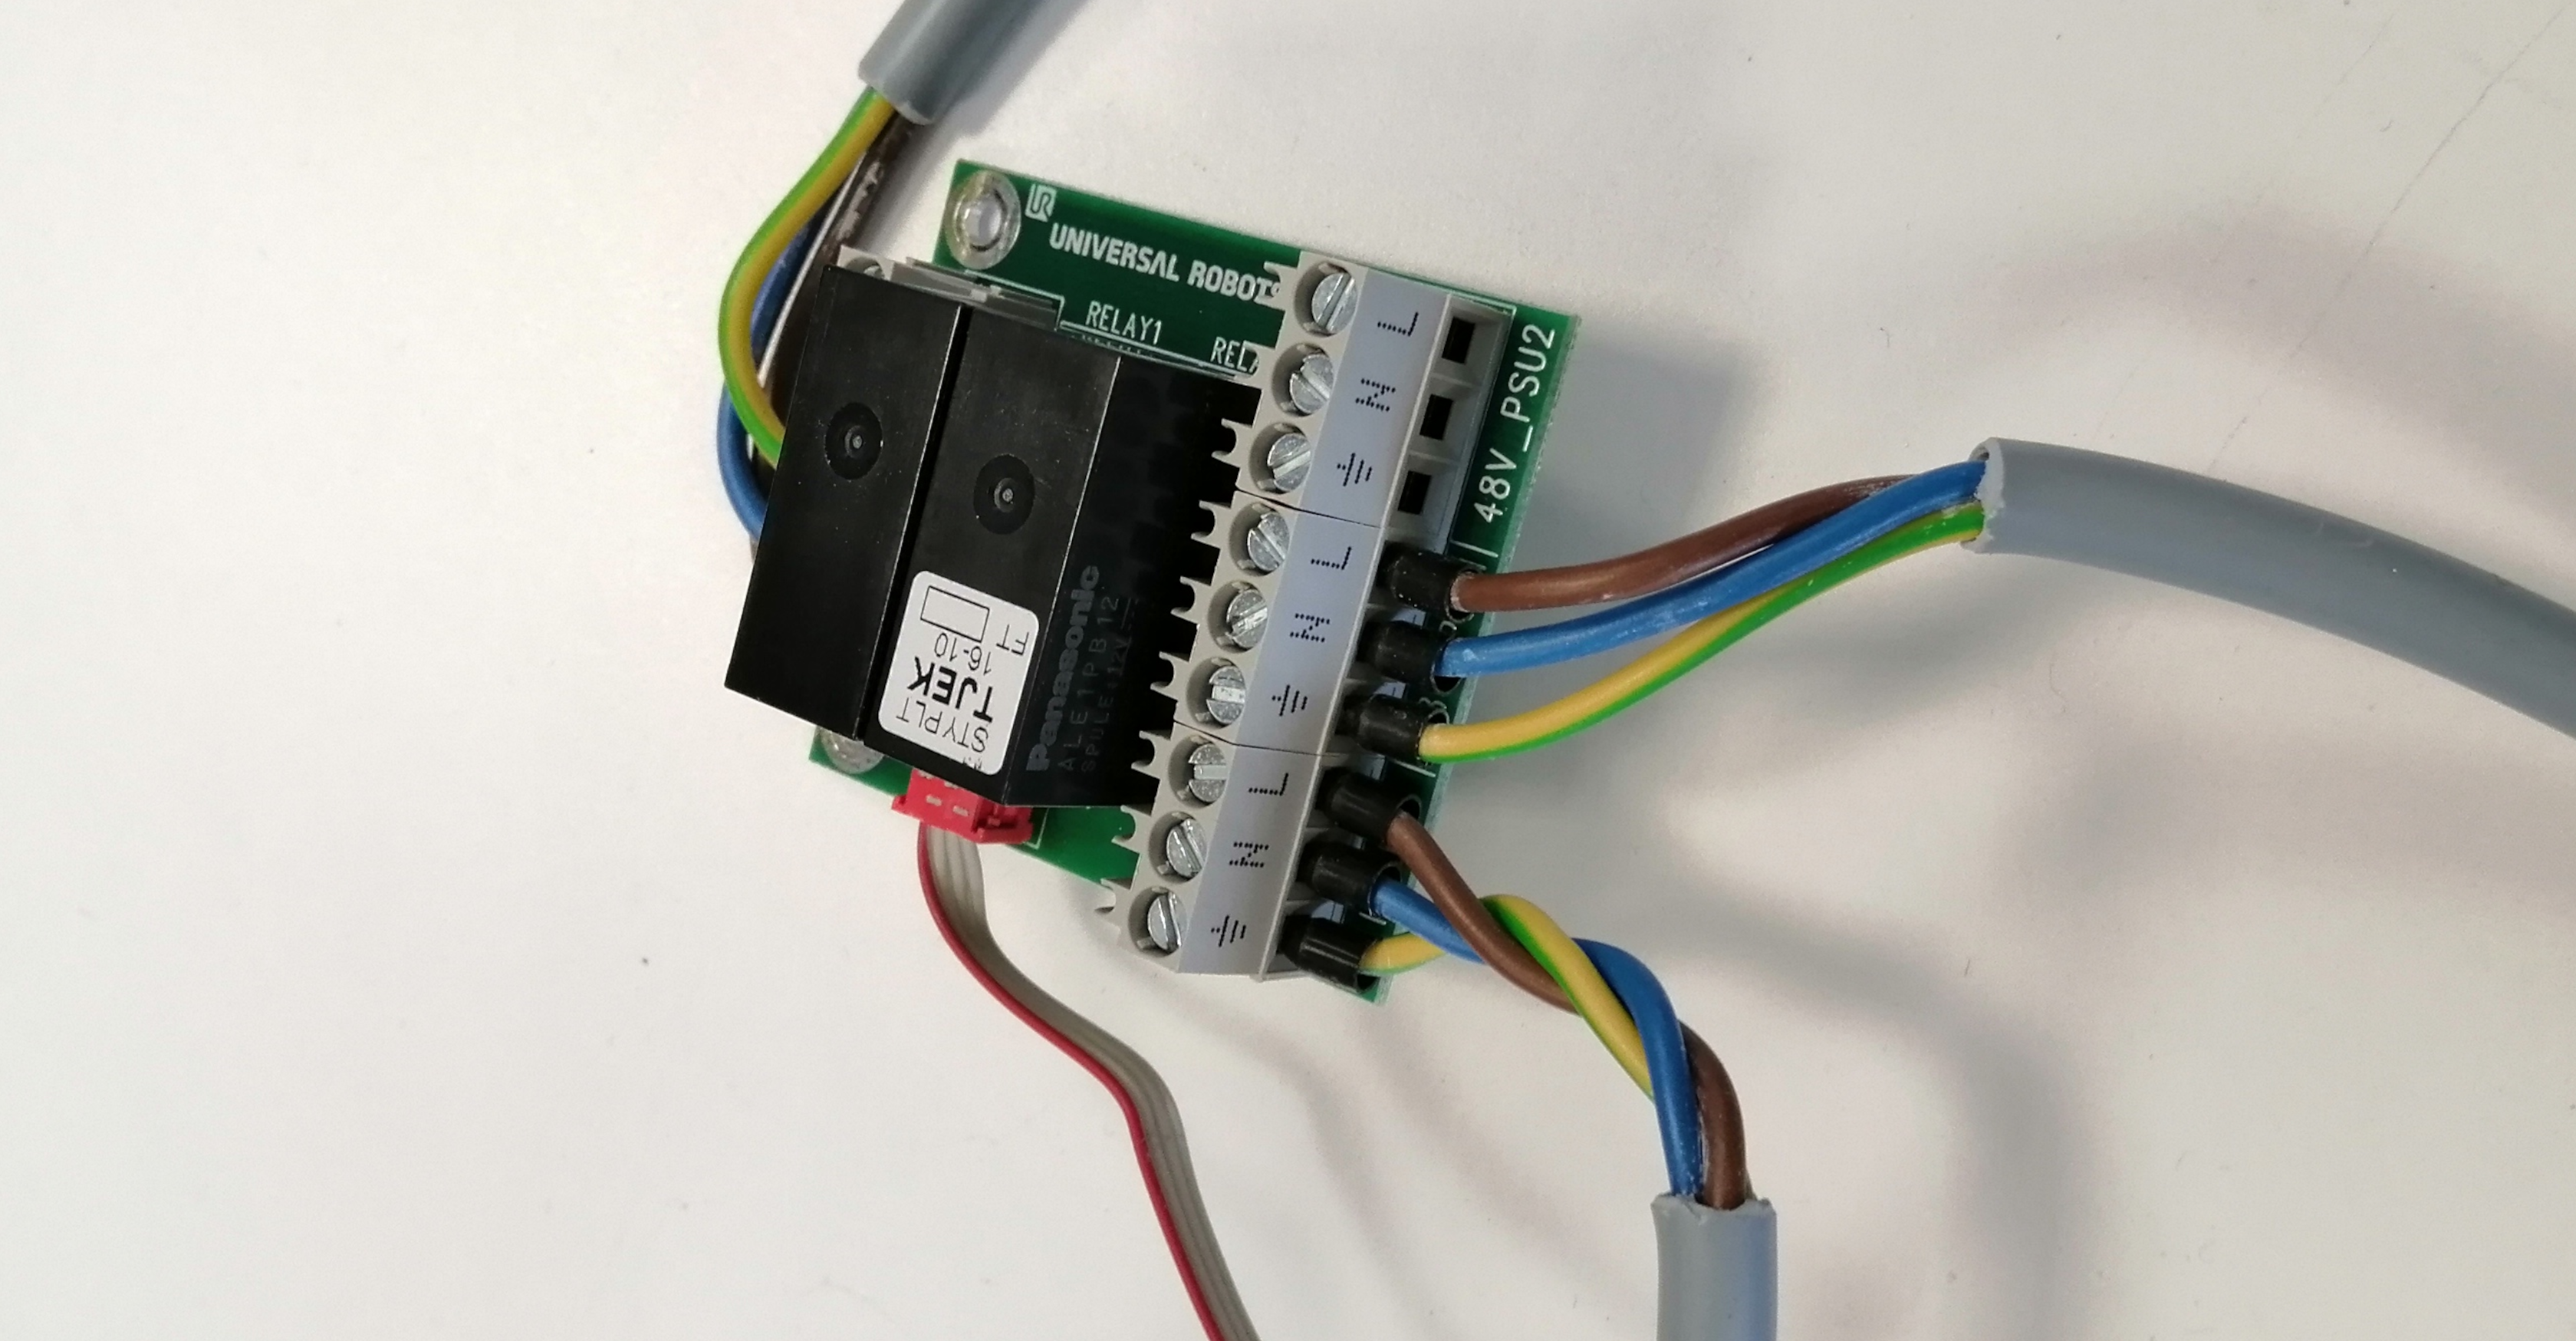
Power supply control relay
12V PSU - Logic
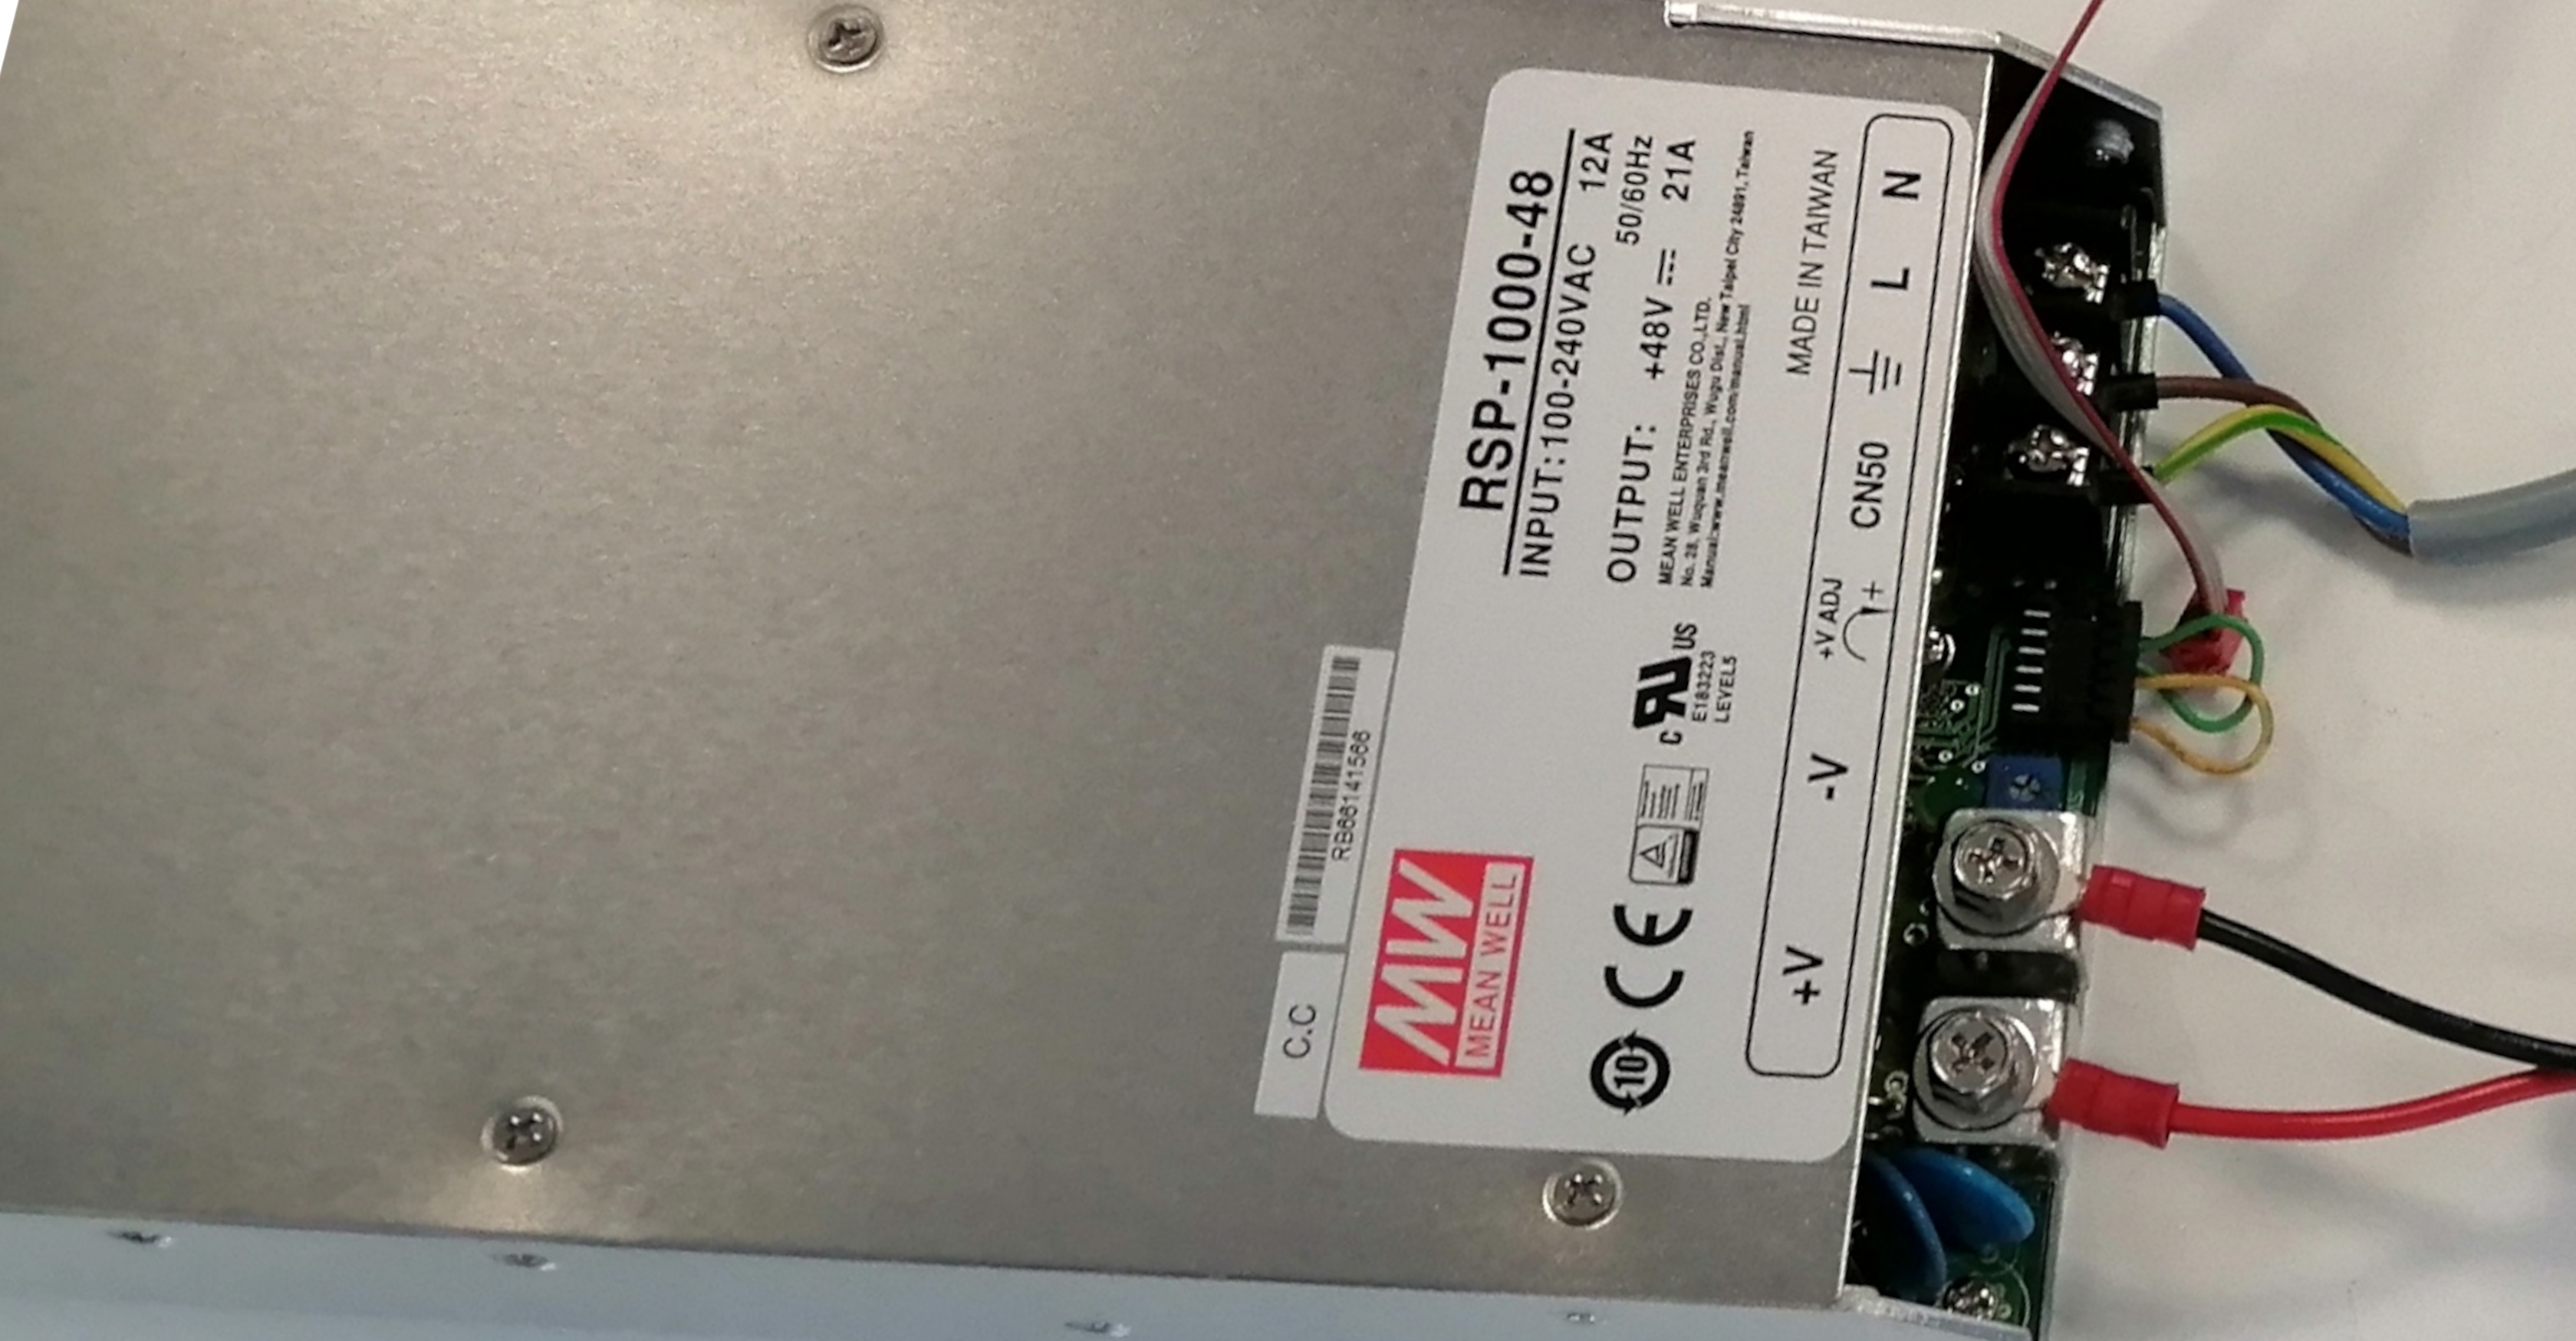
48V PSU - Actuators

At Alias Robotics we encourage a security-first approach to robotics. One that focuses on continuous monitoring and management of robot security risks and threats, leveraging modern tools and automation techniques to ensure that, at all times, the robots stay safe and secure.
We strongly believe that vulnerability disclosure is a two-way street where both vendors and researchers must act responsibly. Teardown, as a process, is an essential part of a security research and brings useful lessons and insights for the design of current and future robotic systems. Generally, teardown supports Kerckhoffs' principle in revealing all the details and weaknesses of a security system. Overall, the history of proprietary systems violating Kerckhoffs' principle by pursuing security through obscurity is rich of failure cases (with the military domain as the sole exception). We advocate against security by obscurity.
Alias remains committed to treating all vendors strictly equally and we expect to be held to the same standard.